
Having recently moved into a new home, I had the opportunity to turn one of the guest rooms into a much needed office. I needed a place for my computer, some folders and filing space, and... that's about it. That leaves quite a bit of blank space on this particular canvas that needed to be taken up (in a purposeful way, of course. Don't fill space just to fill space, that's wasteful). I know we had a lot of books, and I've amassed a decent starter collection of vinyl records. Naturally I just needed to come up with ways to fit it all in to one room. So my plans for a guest room office turned into plans for a mix-use office/library/records lounge/guest room. Easy, right? Not easy, but definitely fun!
Design
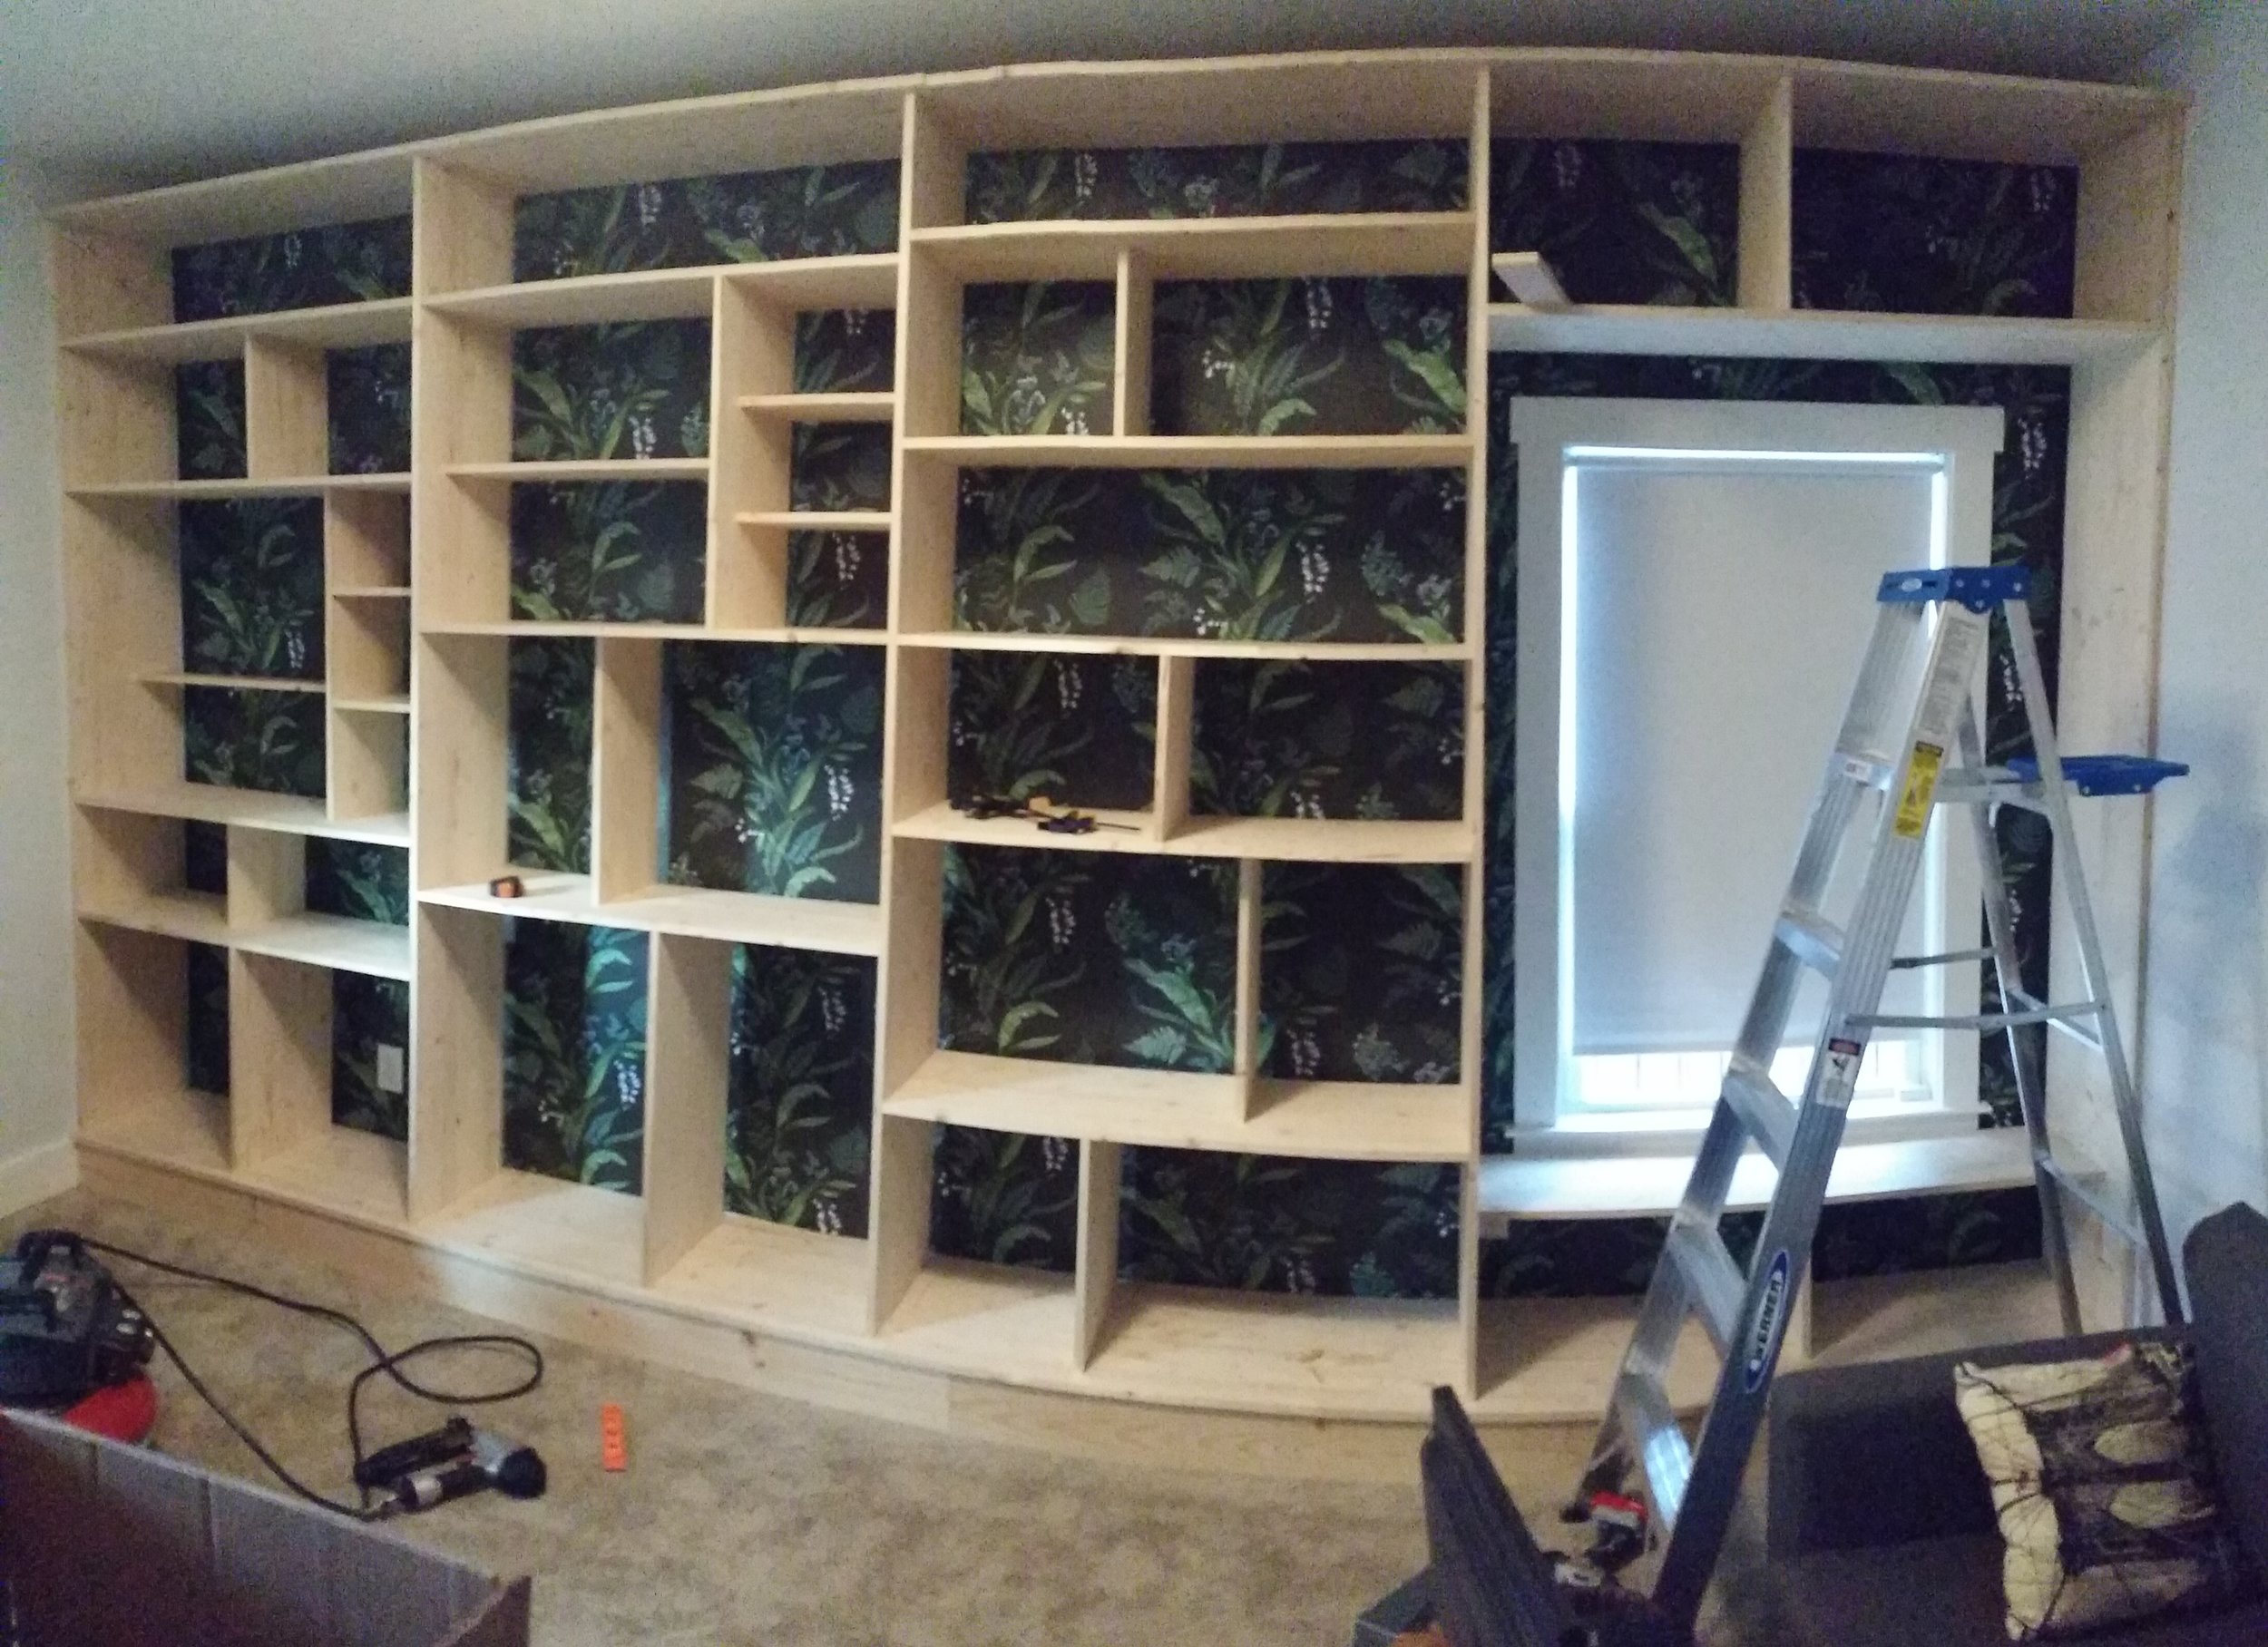
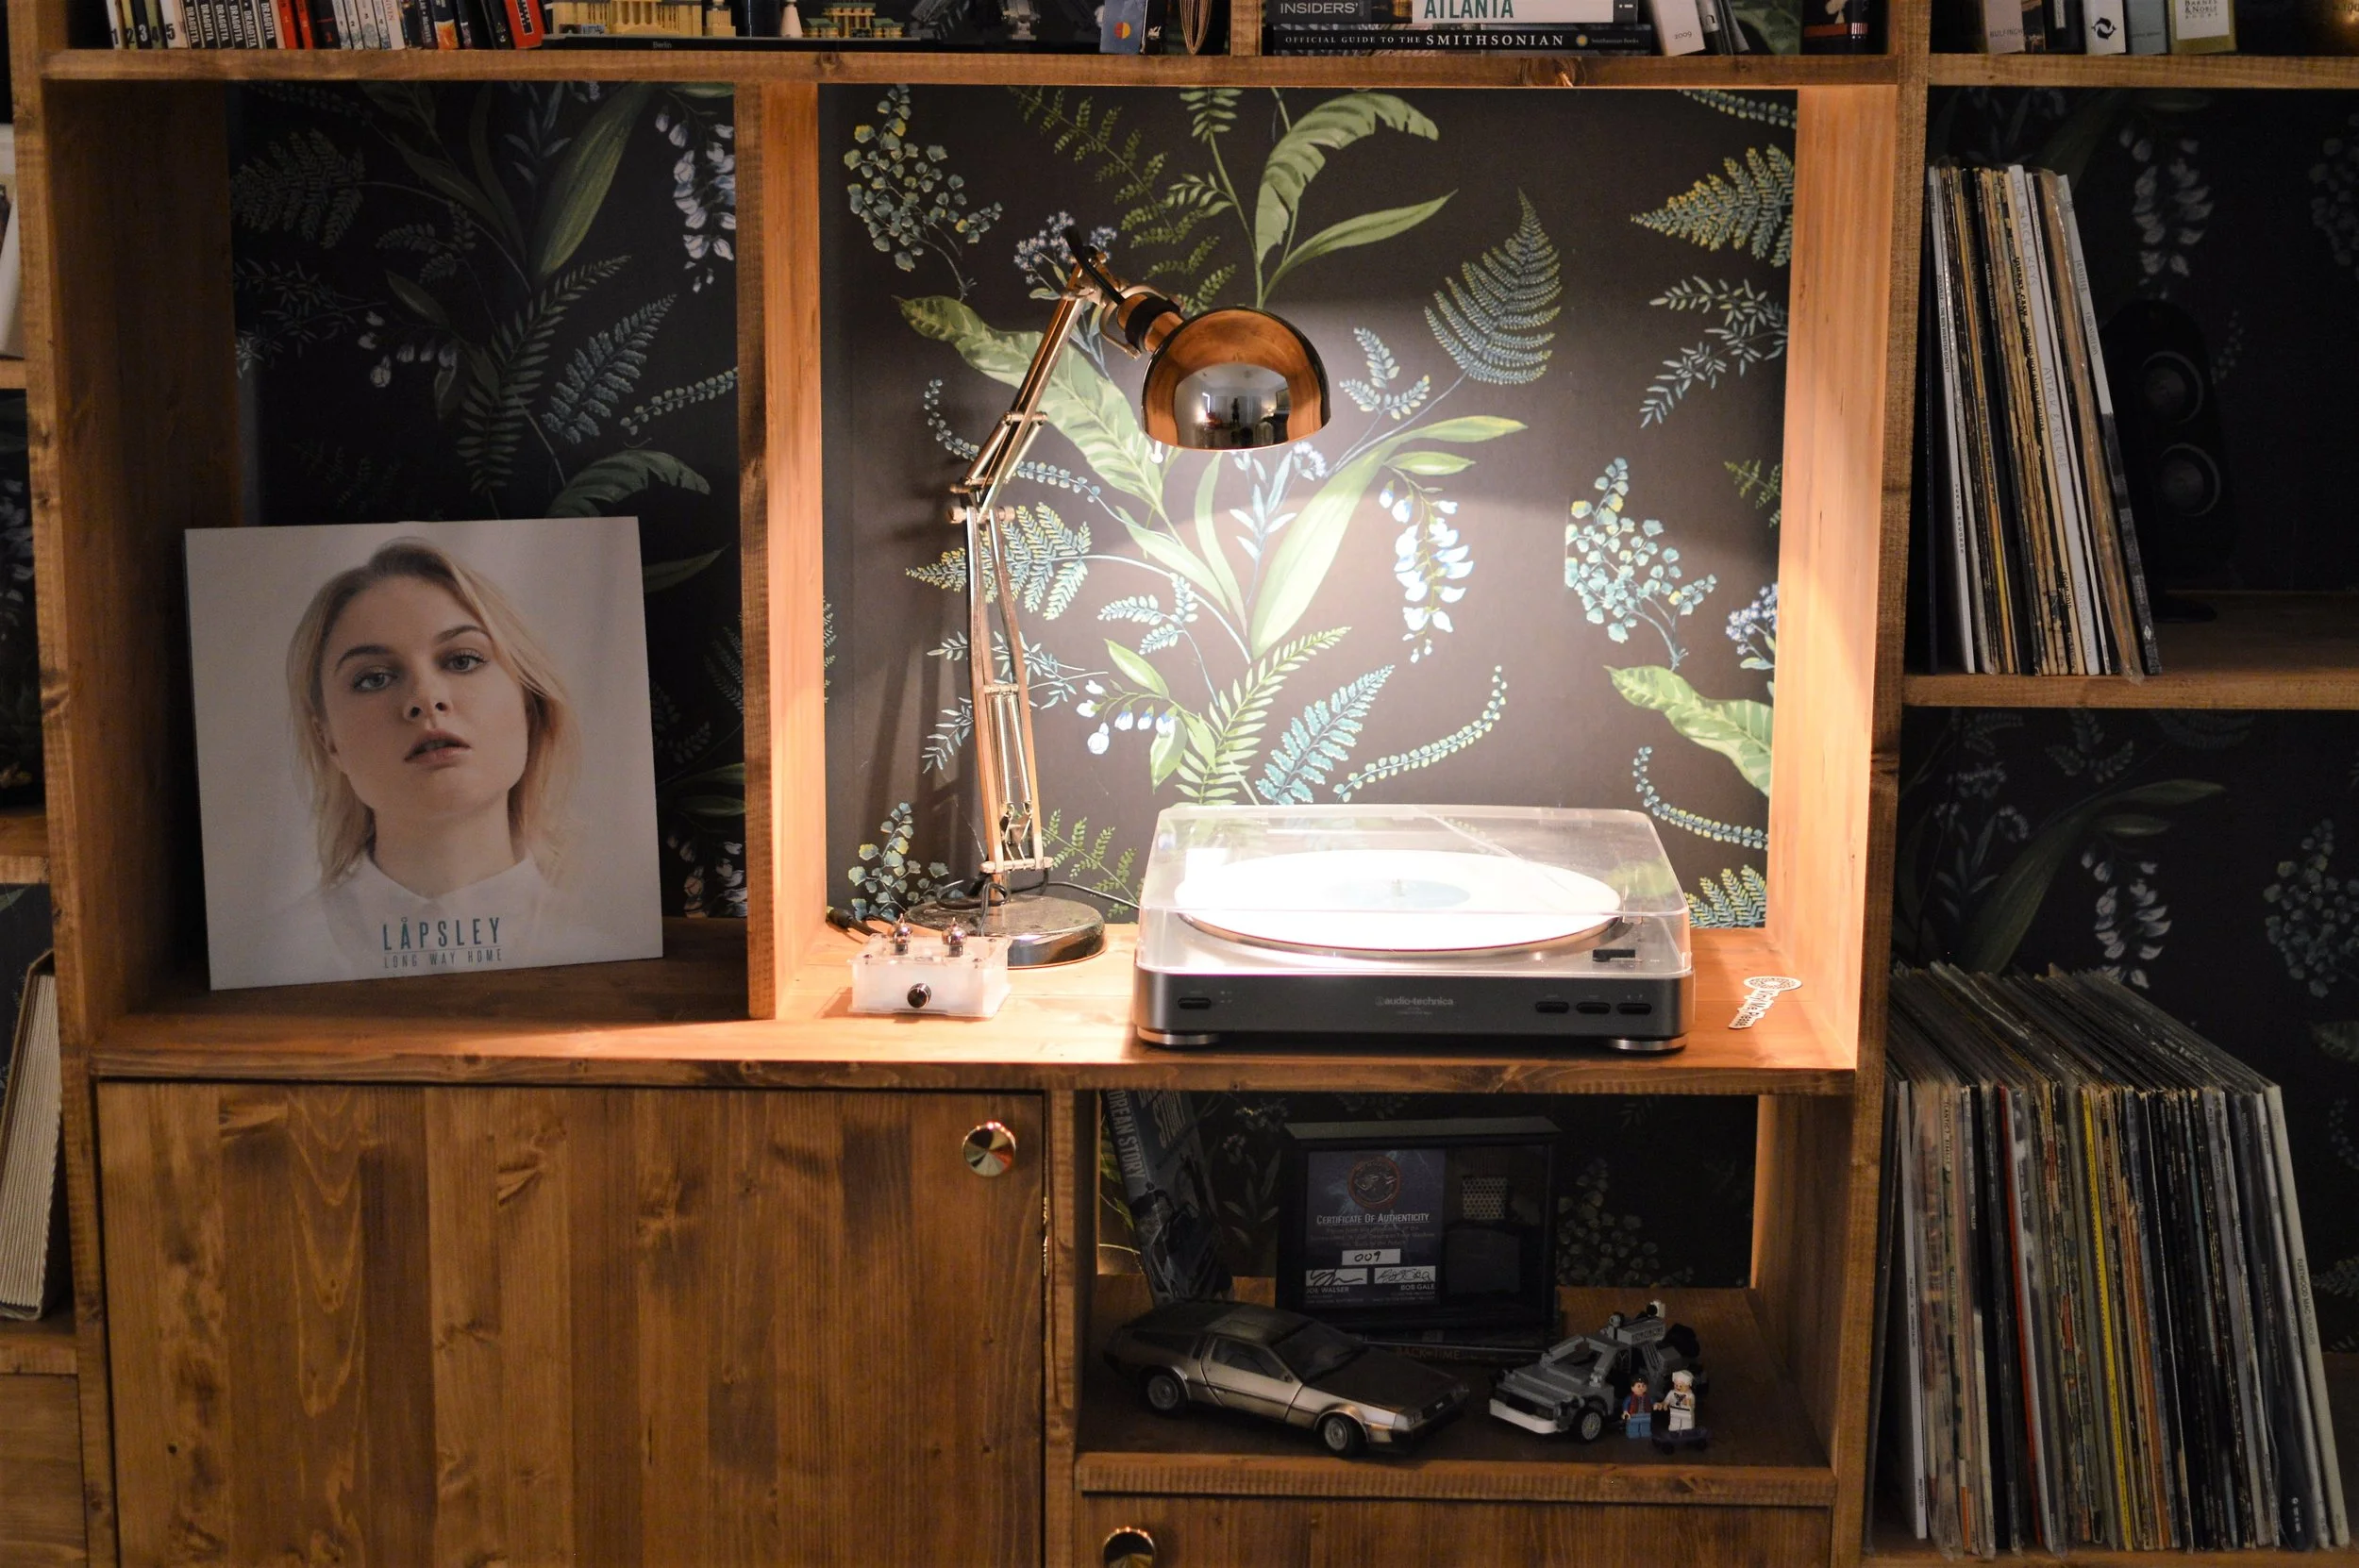
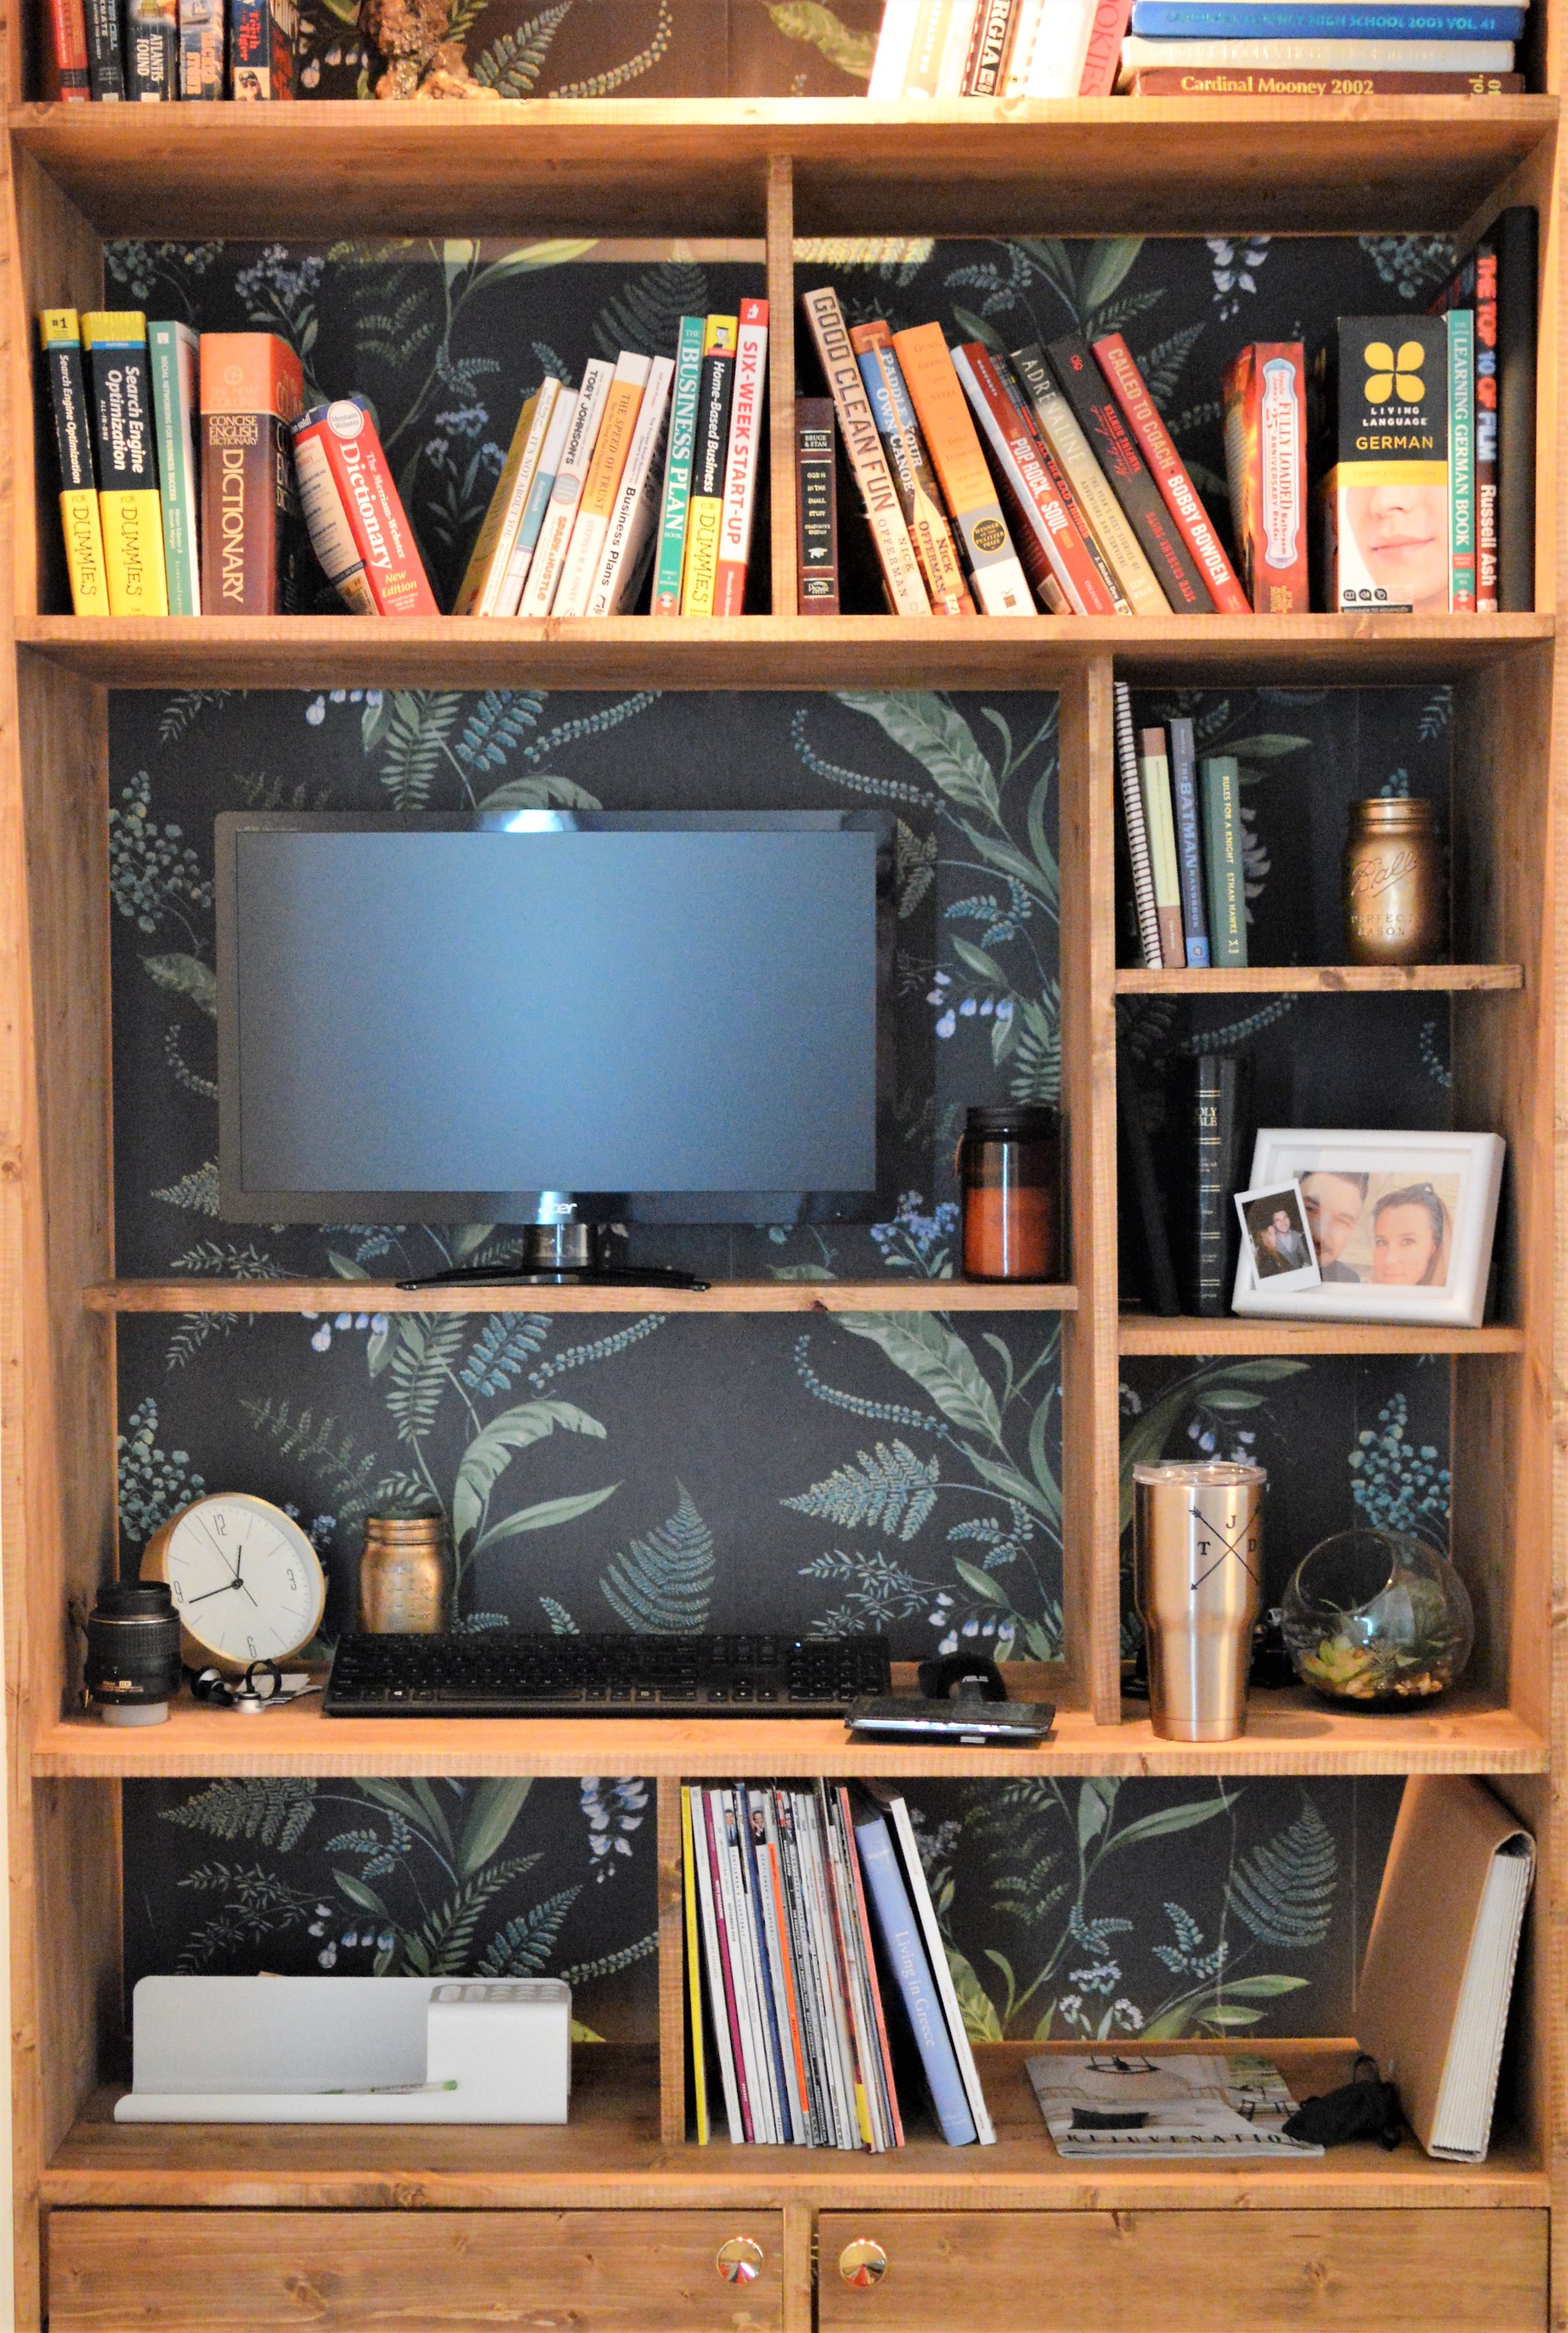
After several iterations, I decided on this one. I knew I wanted wallpaper somewhere, and I thought it would make a good background for building the bookcase on top of. I also knew I didn't want symmetrical shelves left to right, floor to ceiling. Varying the heights and depths of the different little 'cubbies' would allow for storage of items of different heights (most books and vinyl records are in fact NOT the same size), while also visually breaking up the large wooden monstrosity into smaller little vignettes, allowing your eye to dance across the piece from one area to the next. The bottom row would be closed off with cabinet doors to hide the 'ugly things,' like the computer tower, file boxes, extension cords, etc.
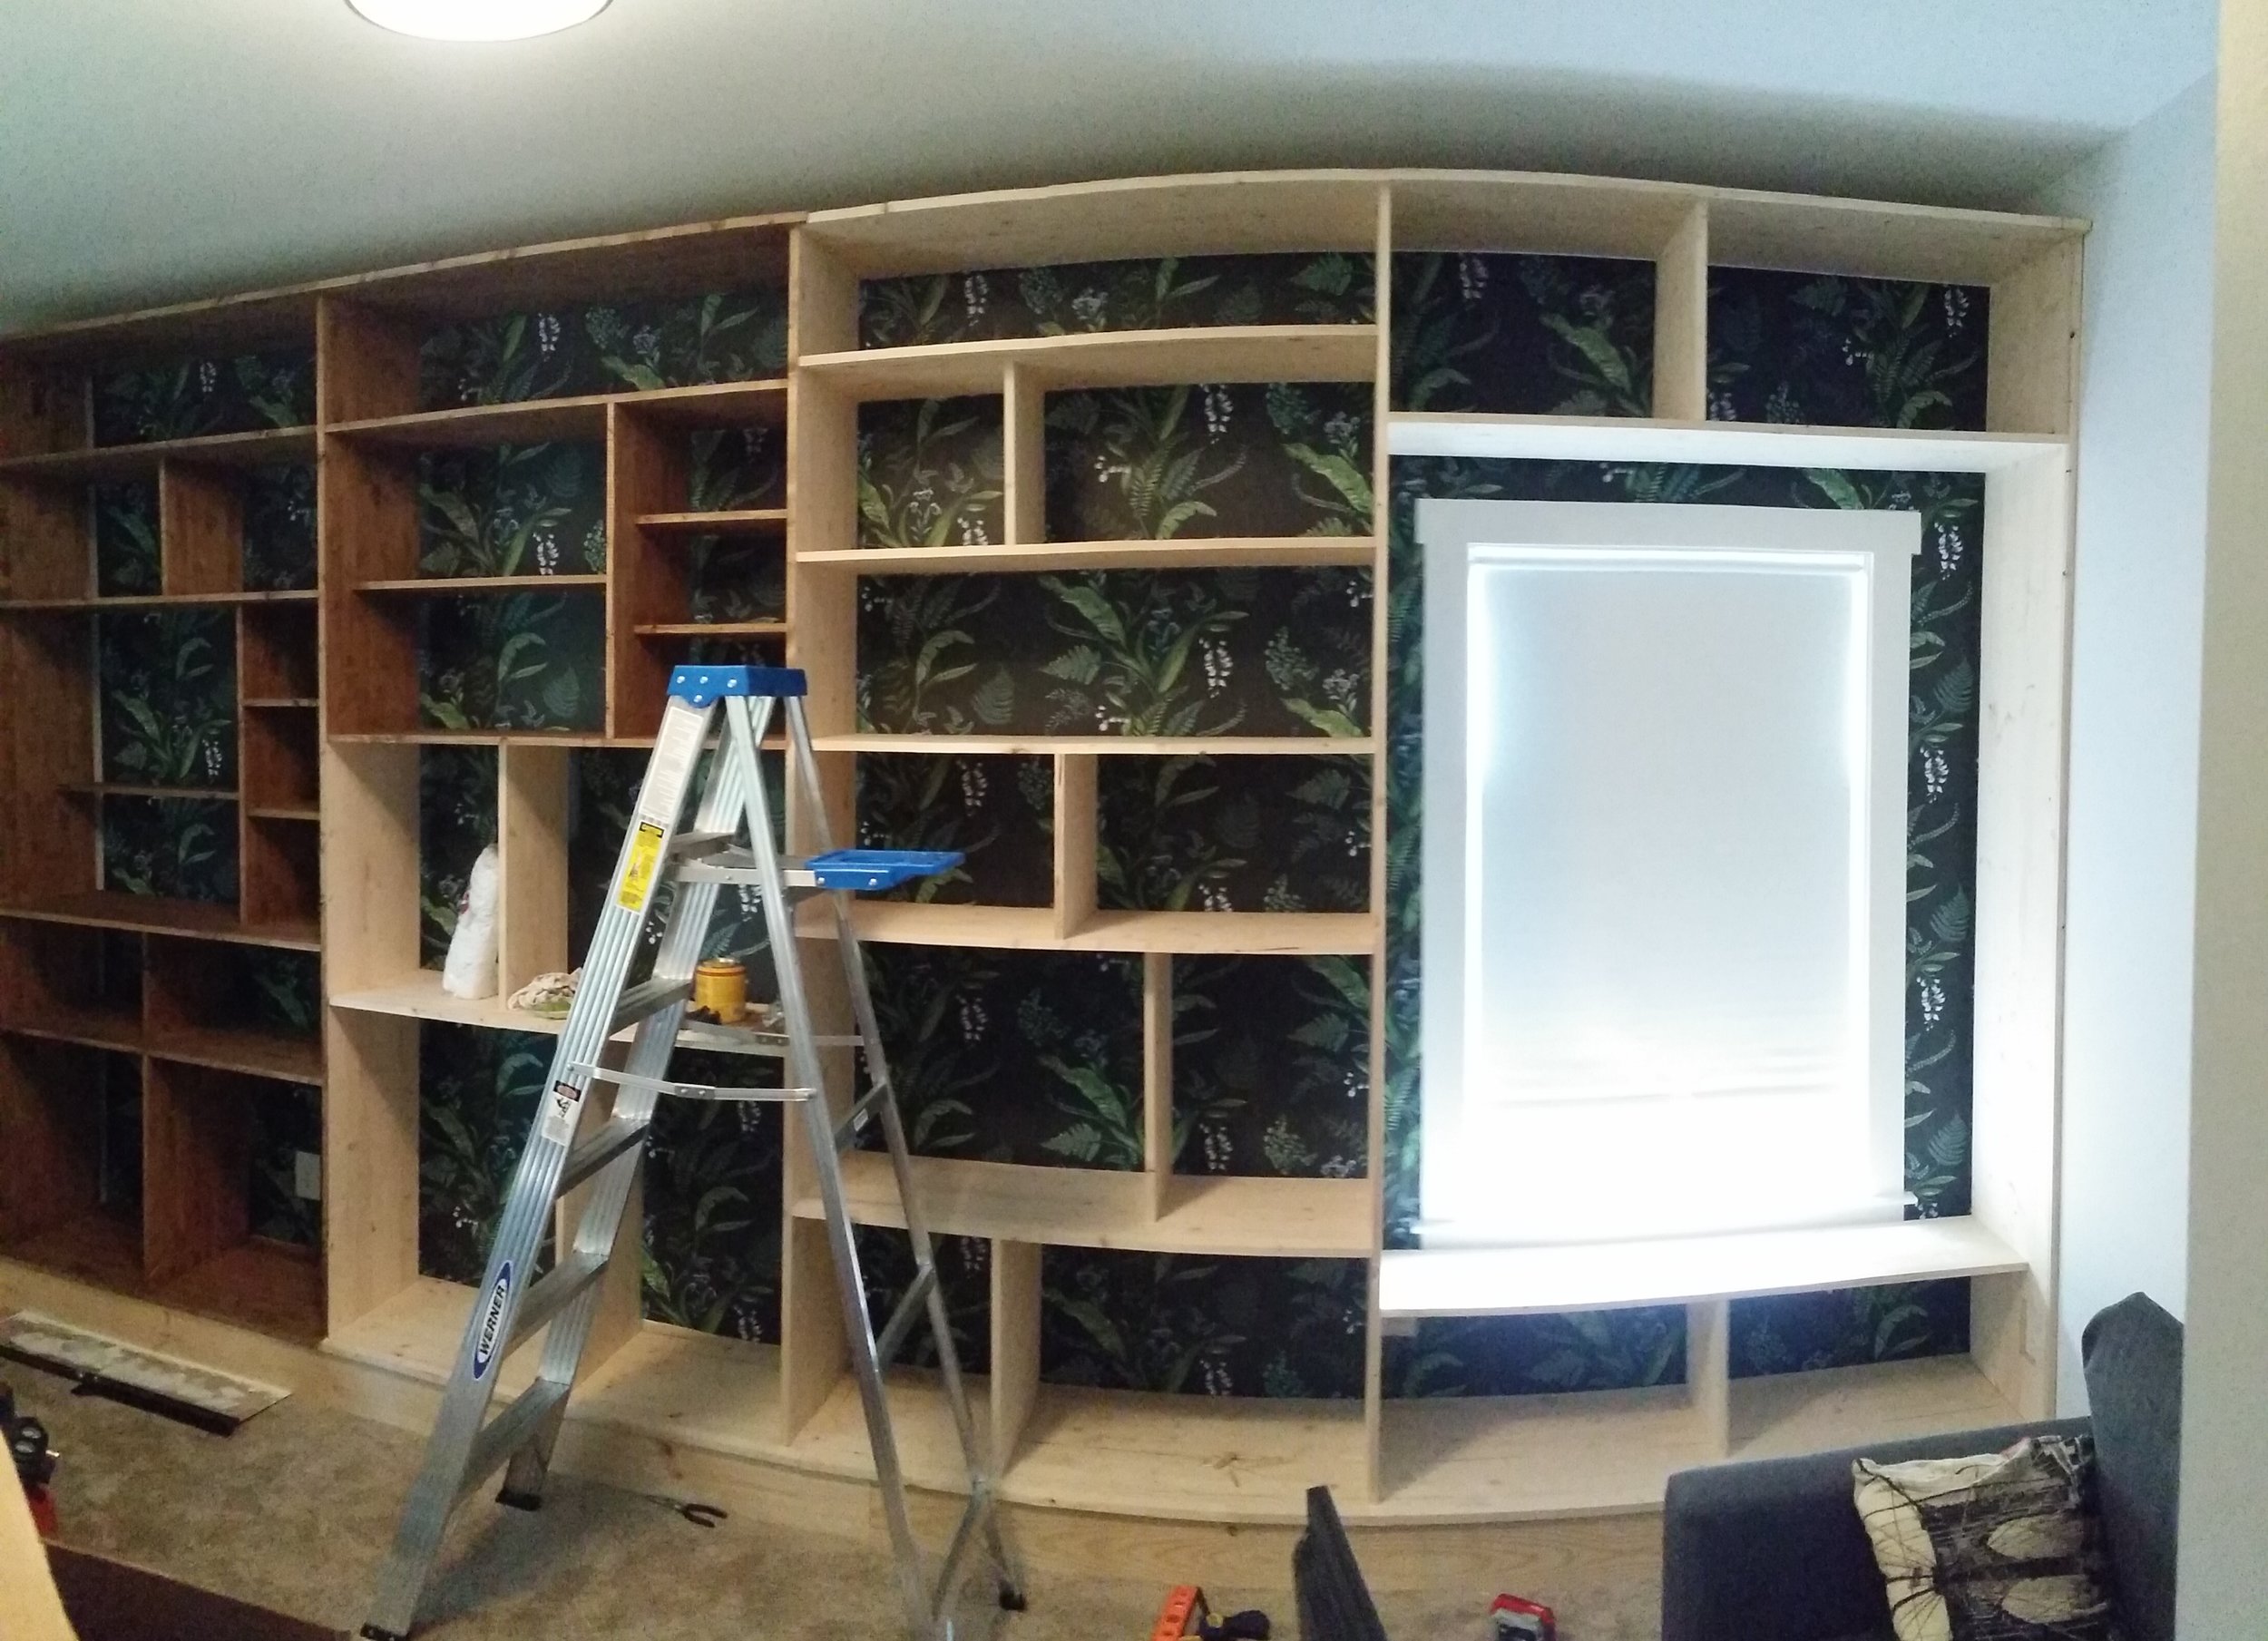
It was at this point that I thought about building the bookcase about 2 inches off of the wall and lighting the paper from behind the bookcase to give the wall itself a more prominent role at night when low light was needed, and it would keep the paper from completely fading into the background once books filled the shelves.
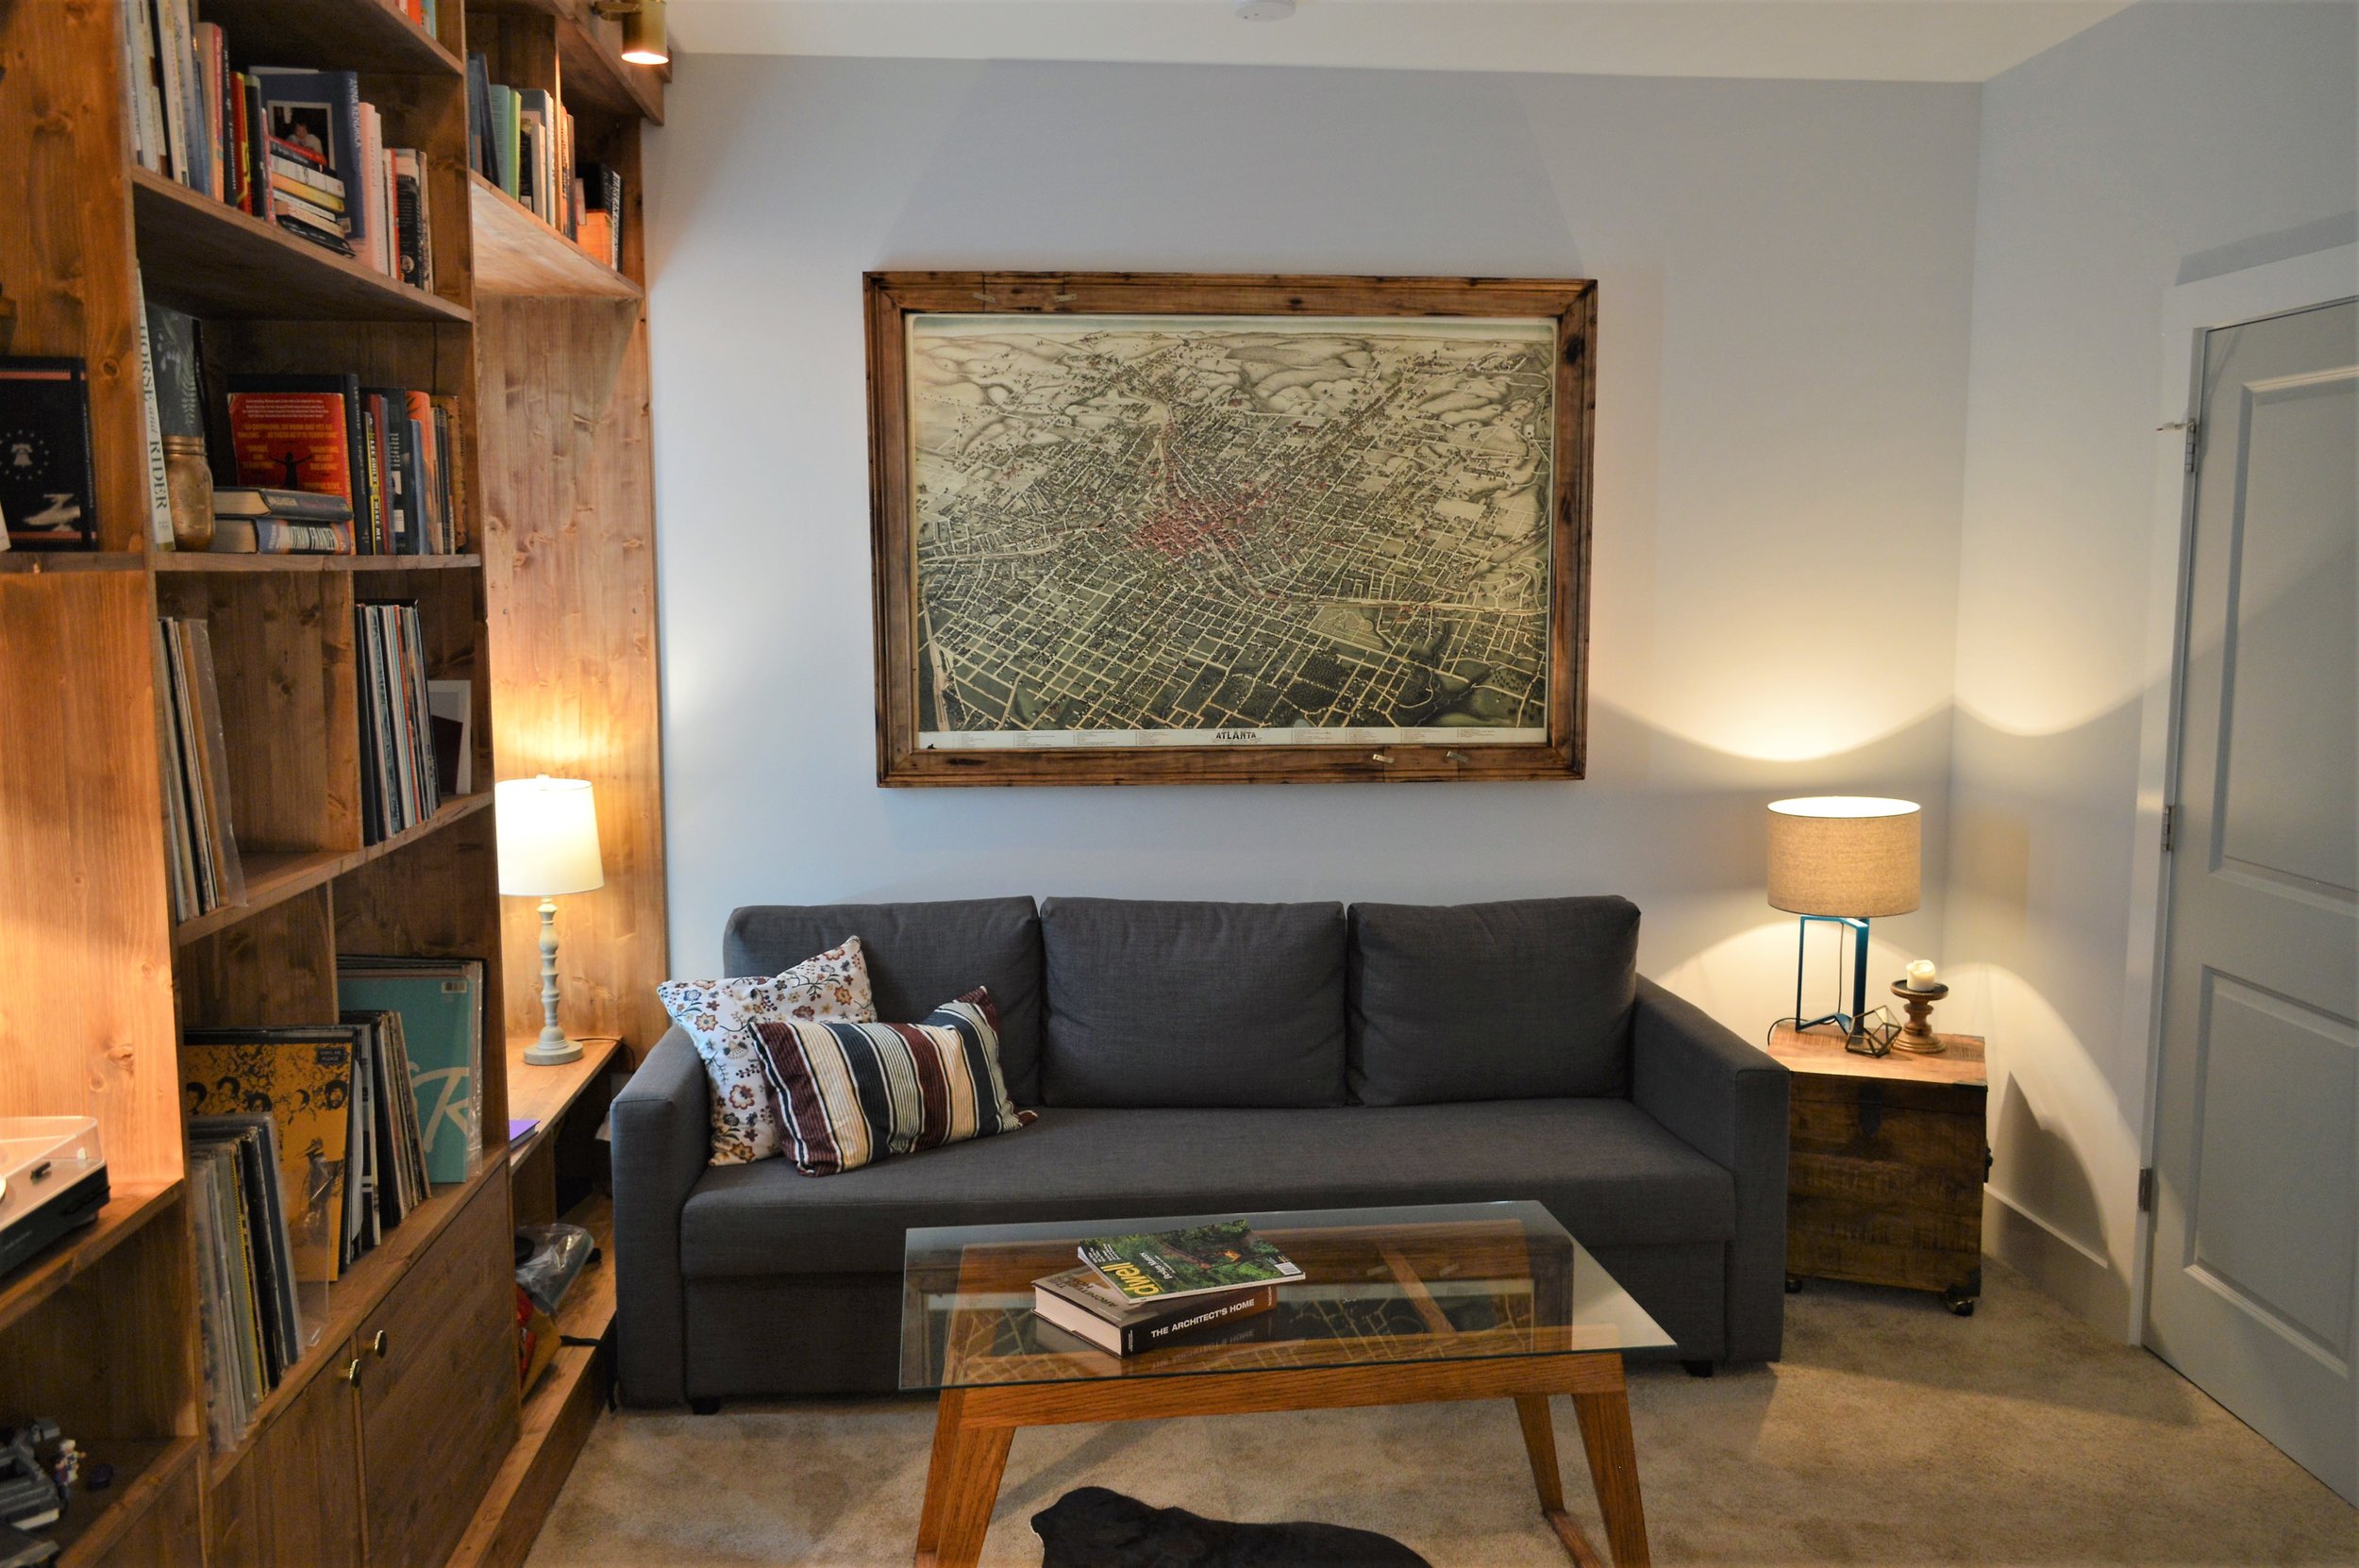
With carefully planned lighting and a medium stain, the bookcase feels warm. To keep the room in line with the built in, a few pieces of furniture were needed to keep the room comfortable and usable under moments of 'lounging' or several nights and days of 'guests-sleeping-over.' Overall, a simple, clean, and inviting design I was very pleased with.
The Build
Instagram post from the very beginning of the project. Had to hang the wallpaper before building the bookcase in place. It was dumb luck that I found the exact same wallpaper to hang as I used in the design rendering. I Googled 'green floral pattern' for the design, forgot about it weeks later, and ran across the same covering when searching for a paper to actually hang (Check out Wallpaperdirect.com for any of your wall covering needs. Super easy to work with!). Lucky me! In any case, It was frustrating to put up for a first-timer, but it certainly paid off. And for the record, I do not suggest using an end table as a ladder. Just get a ladder.
After the wallpaper was up, it was time for the meat of the construction...


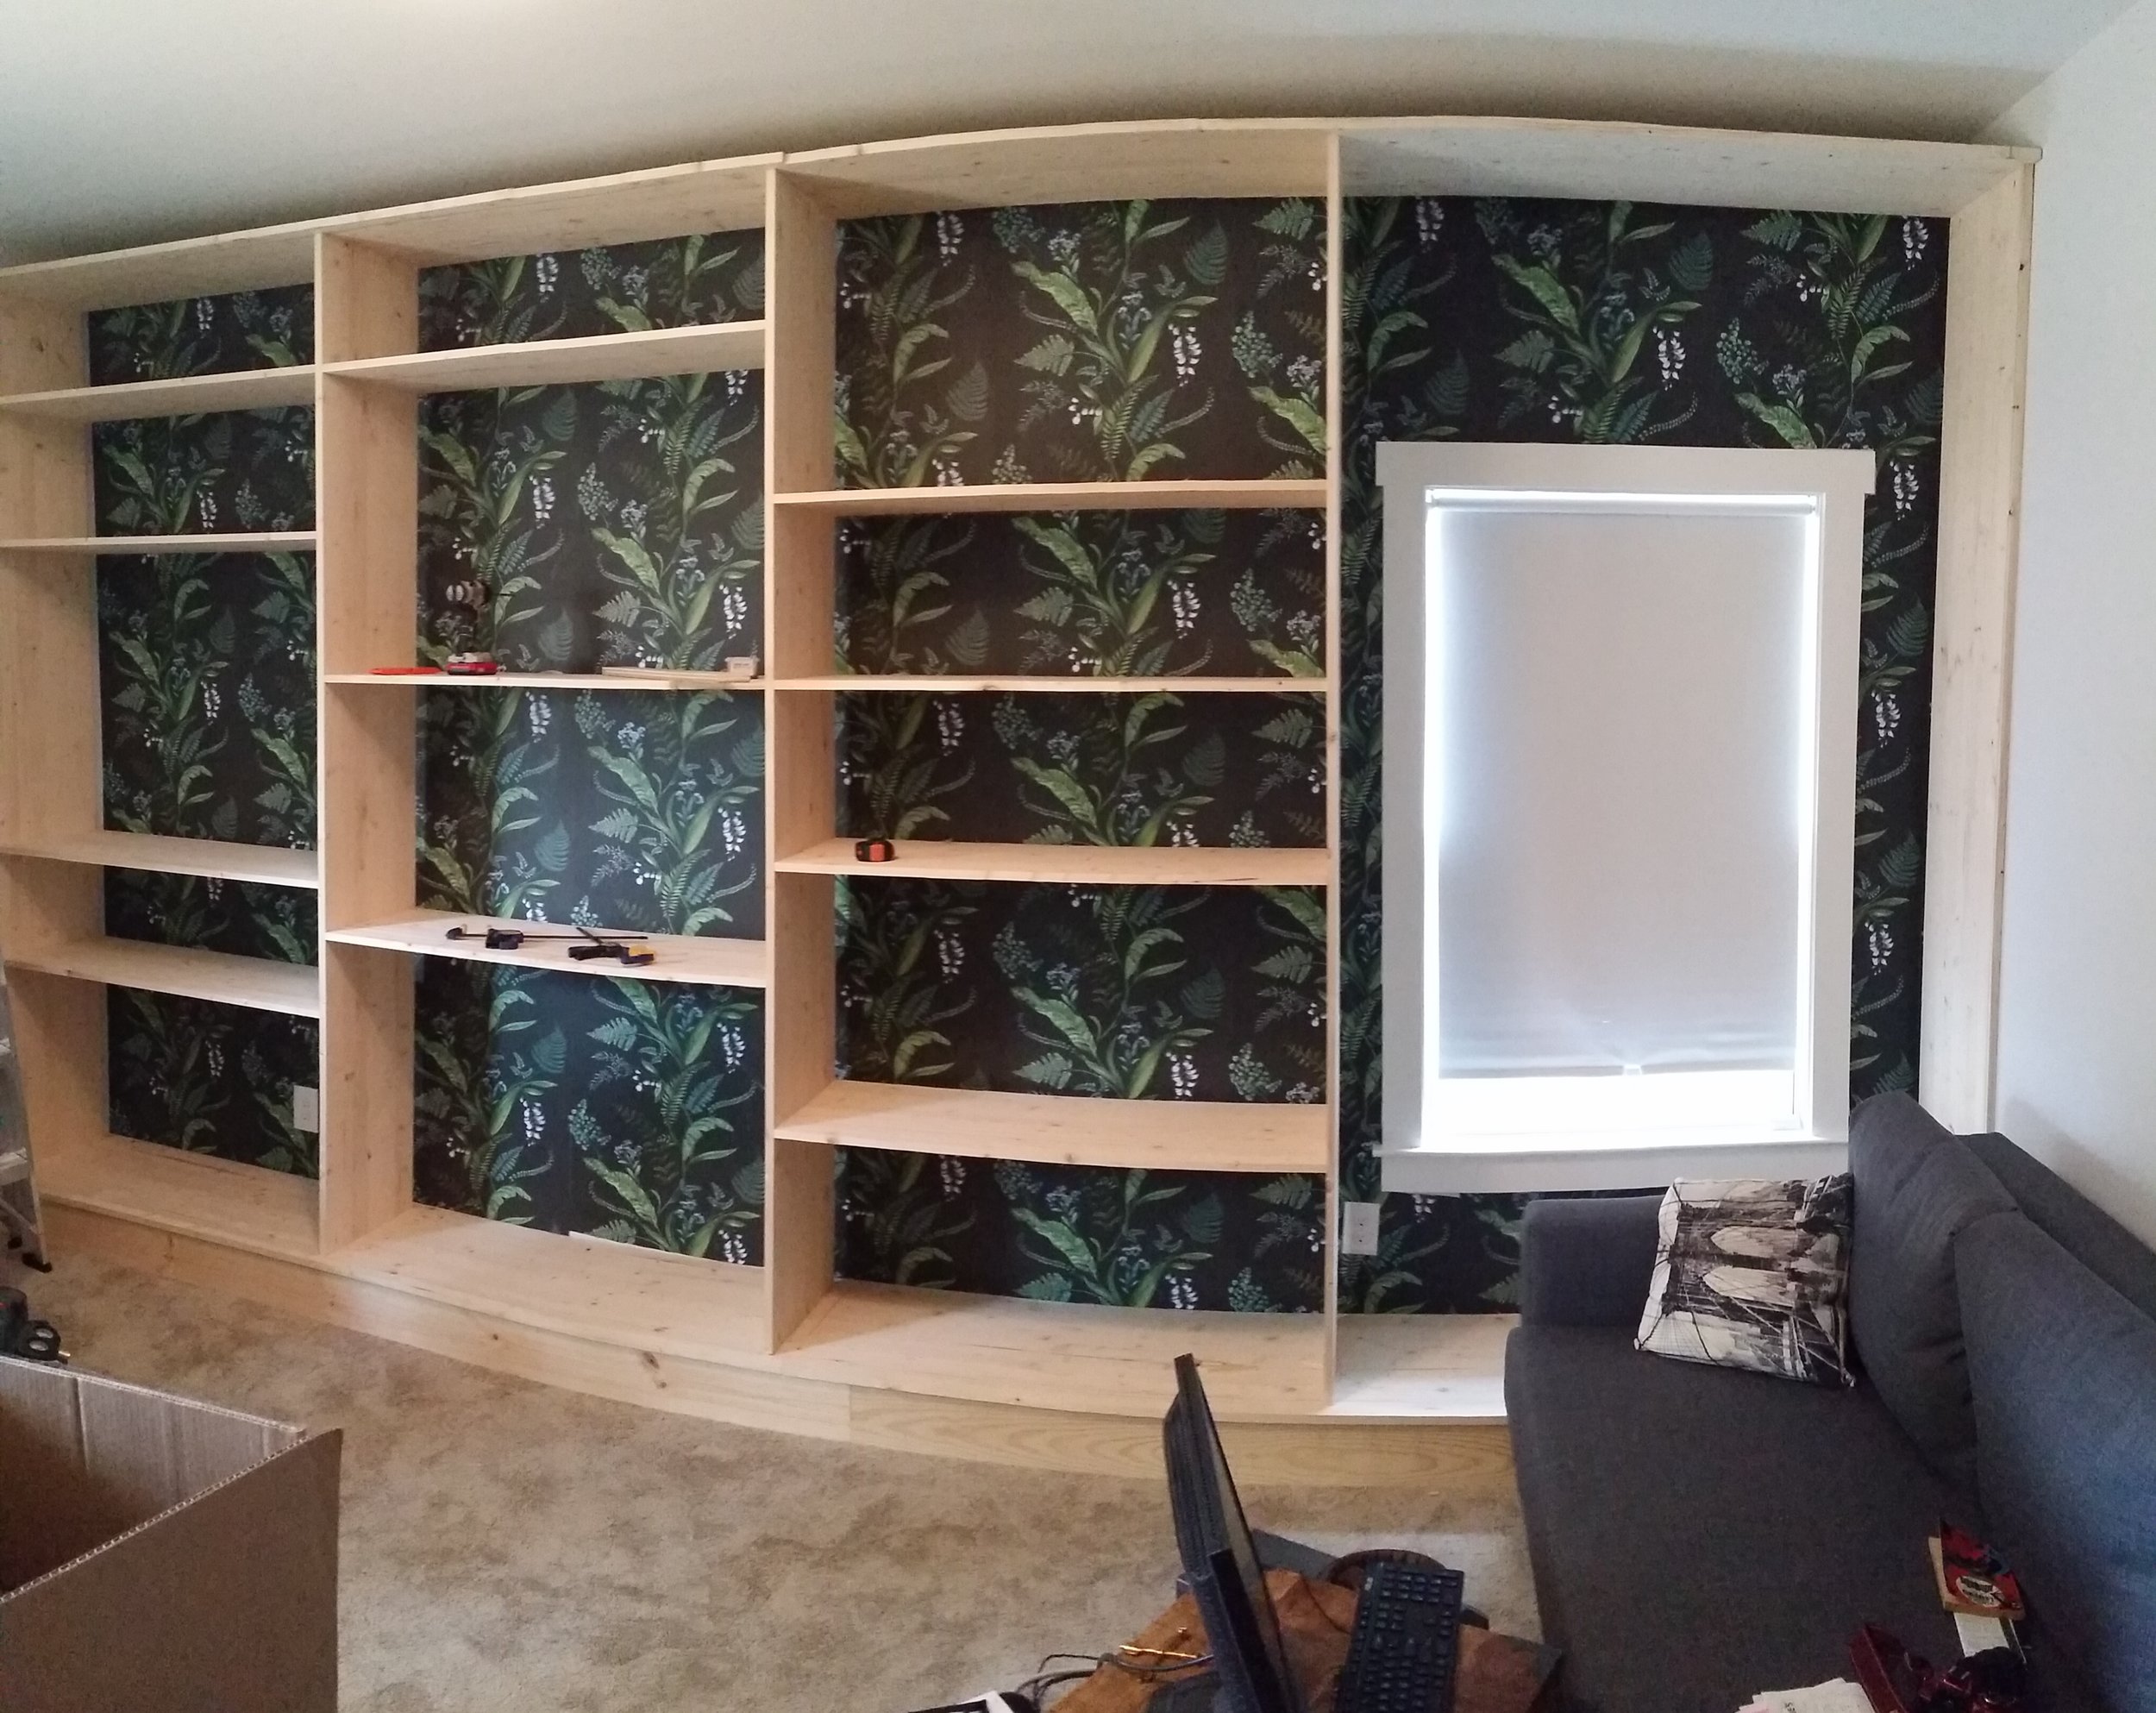
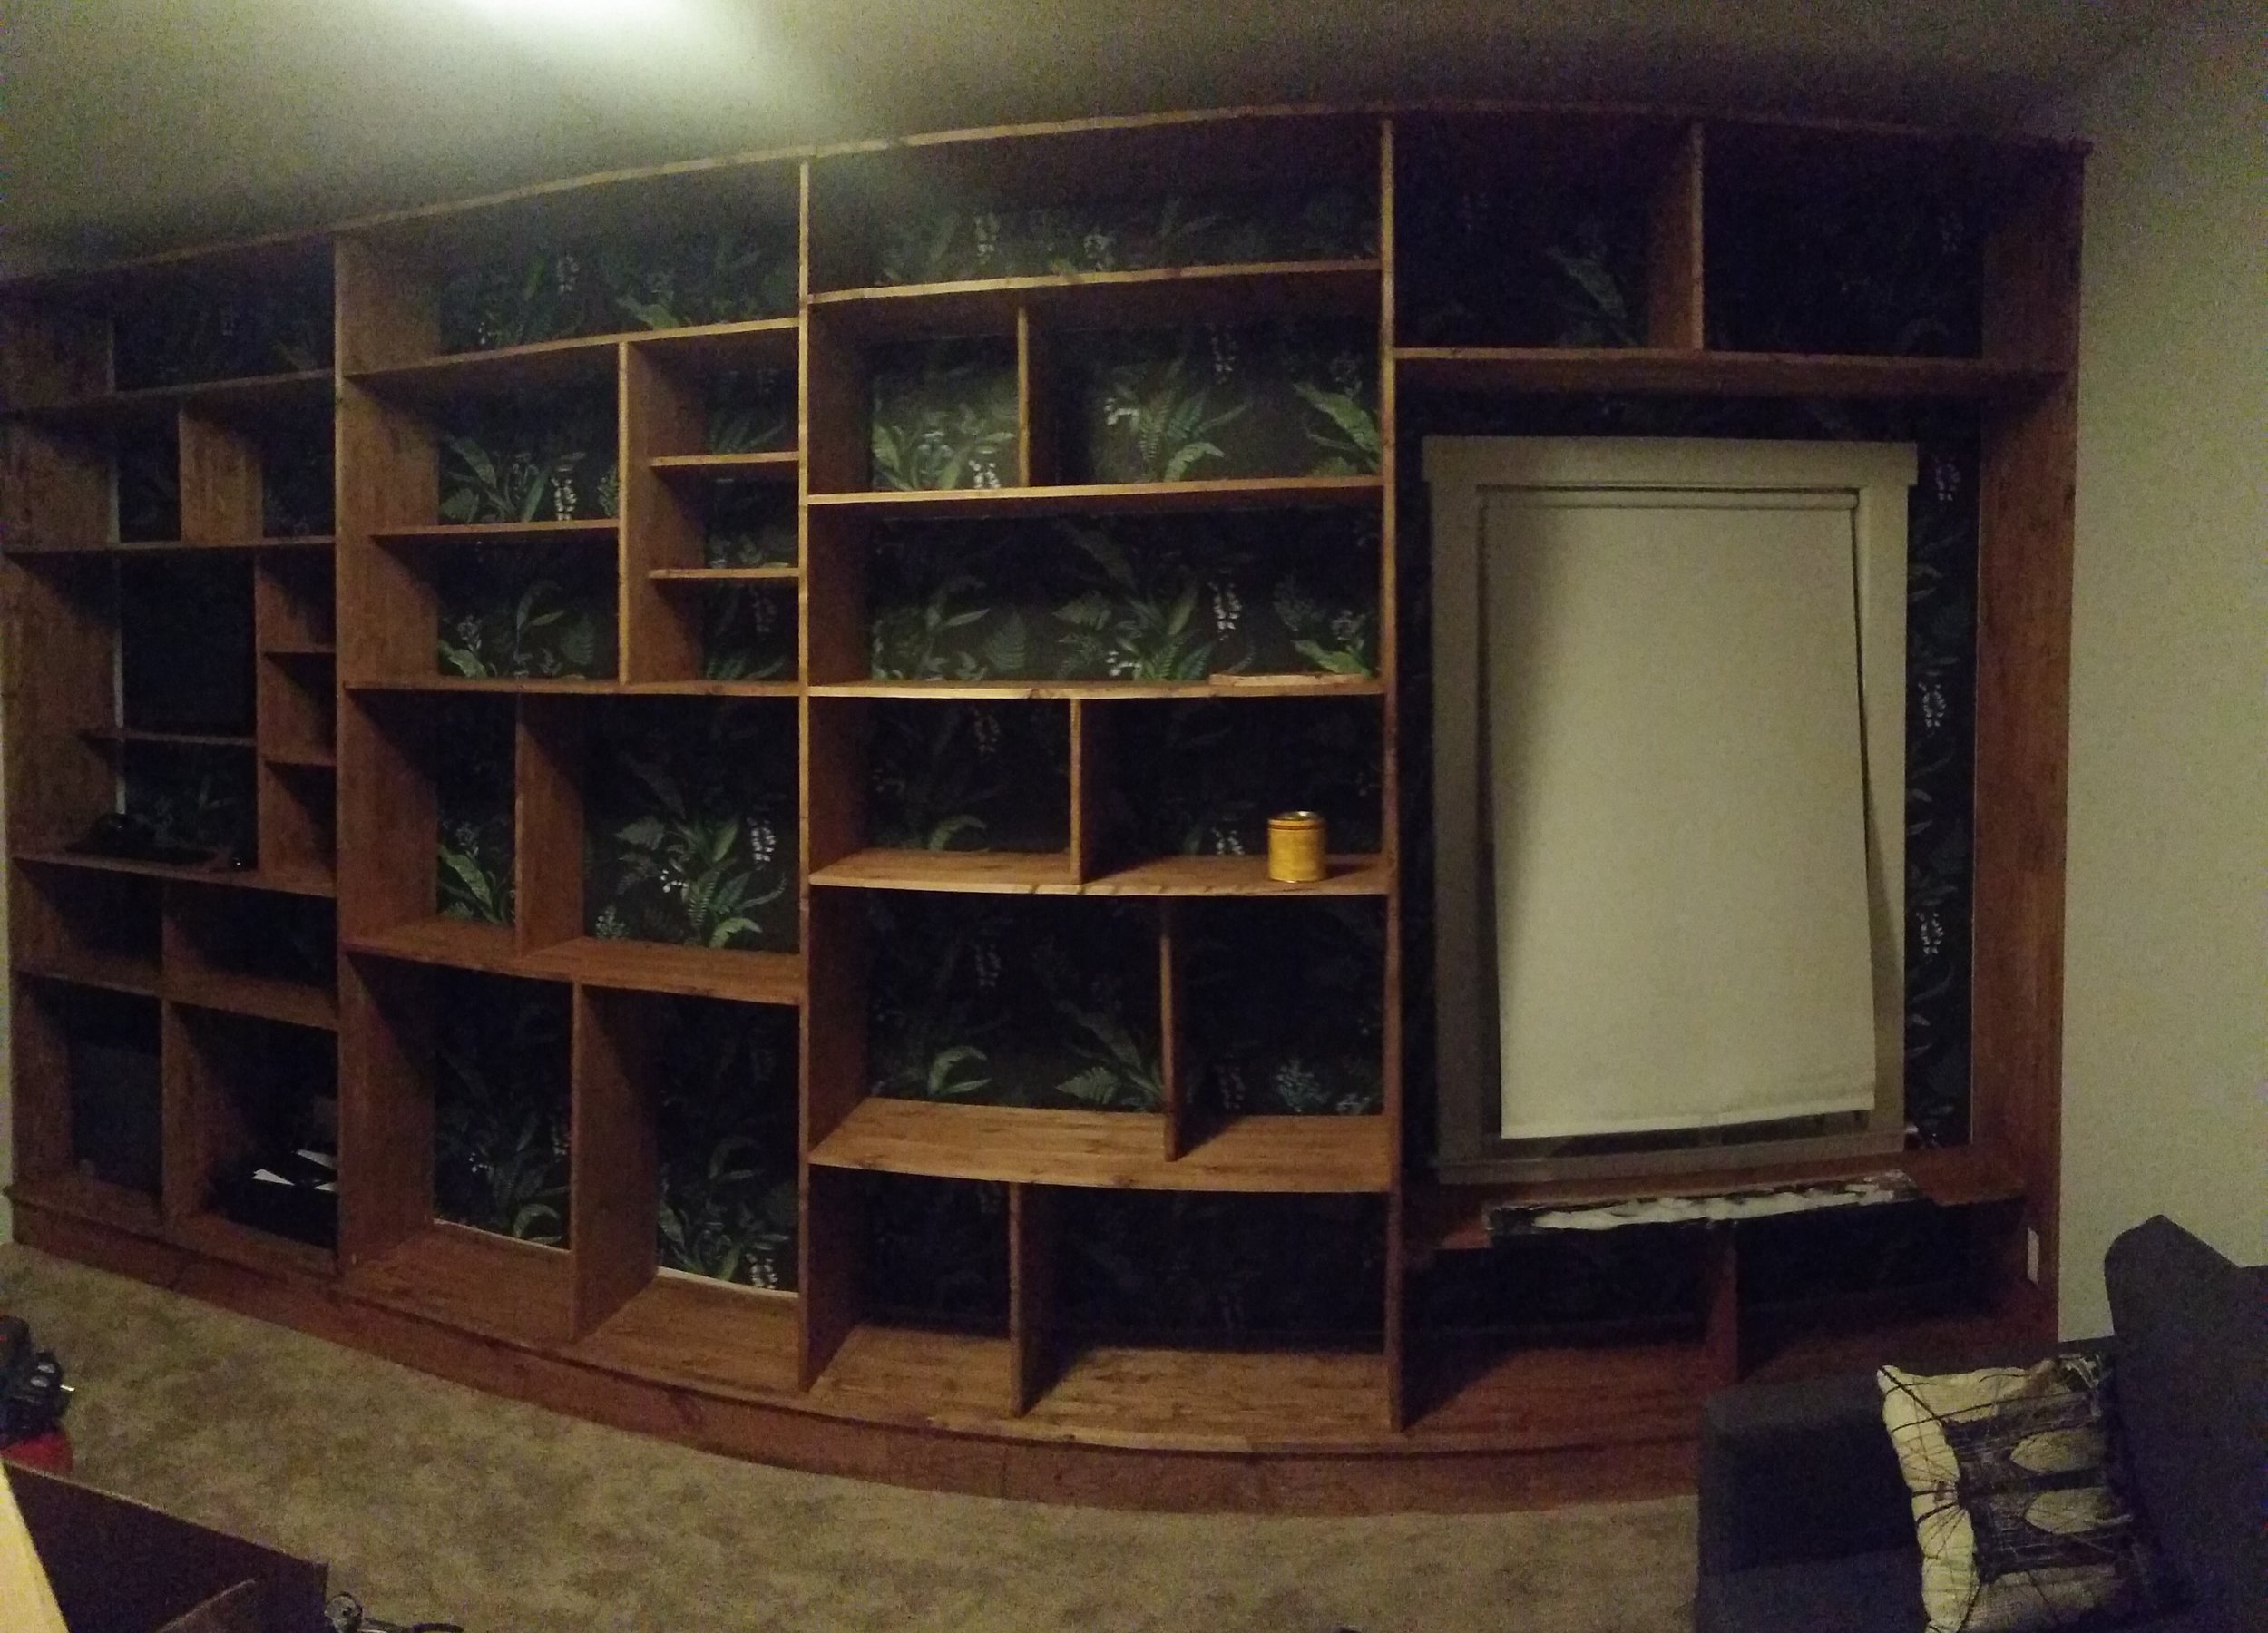
Build in place, stain in place. Left for some hearty fumes, but it was finally done. Al that was left was to leave some time for drying, wiring for the lights, both behind the case and in front of it, and filling the shelves with all of our books and records.
Finished Space

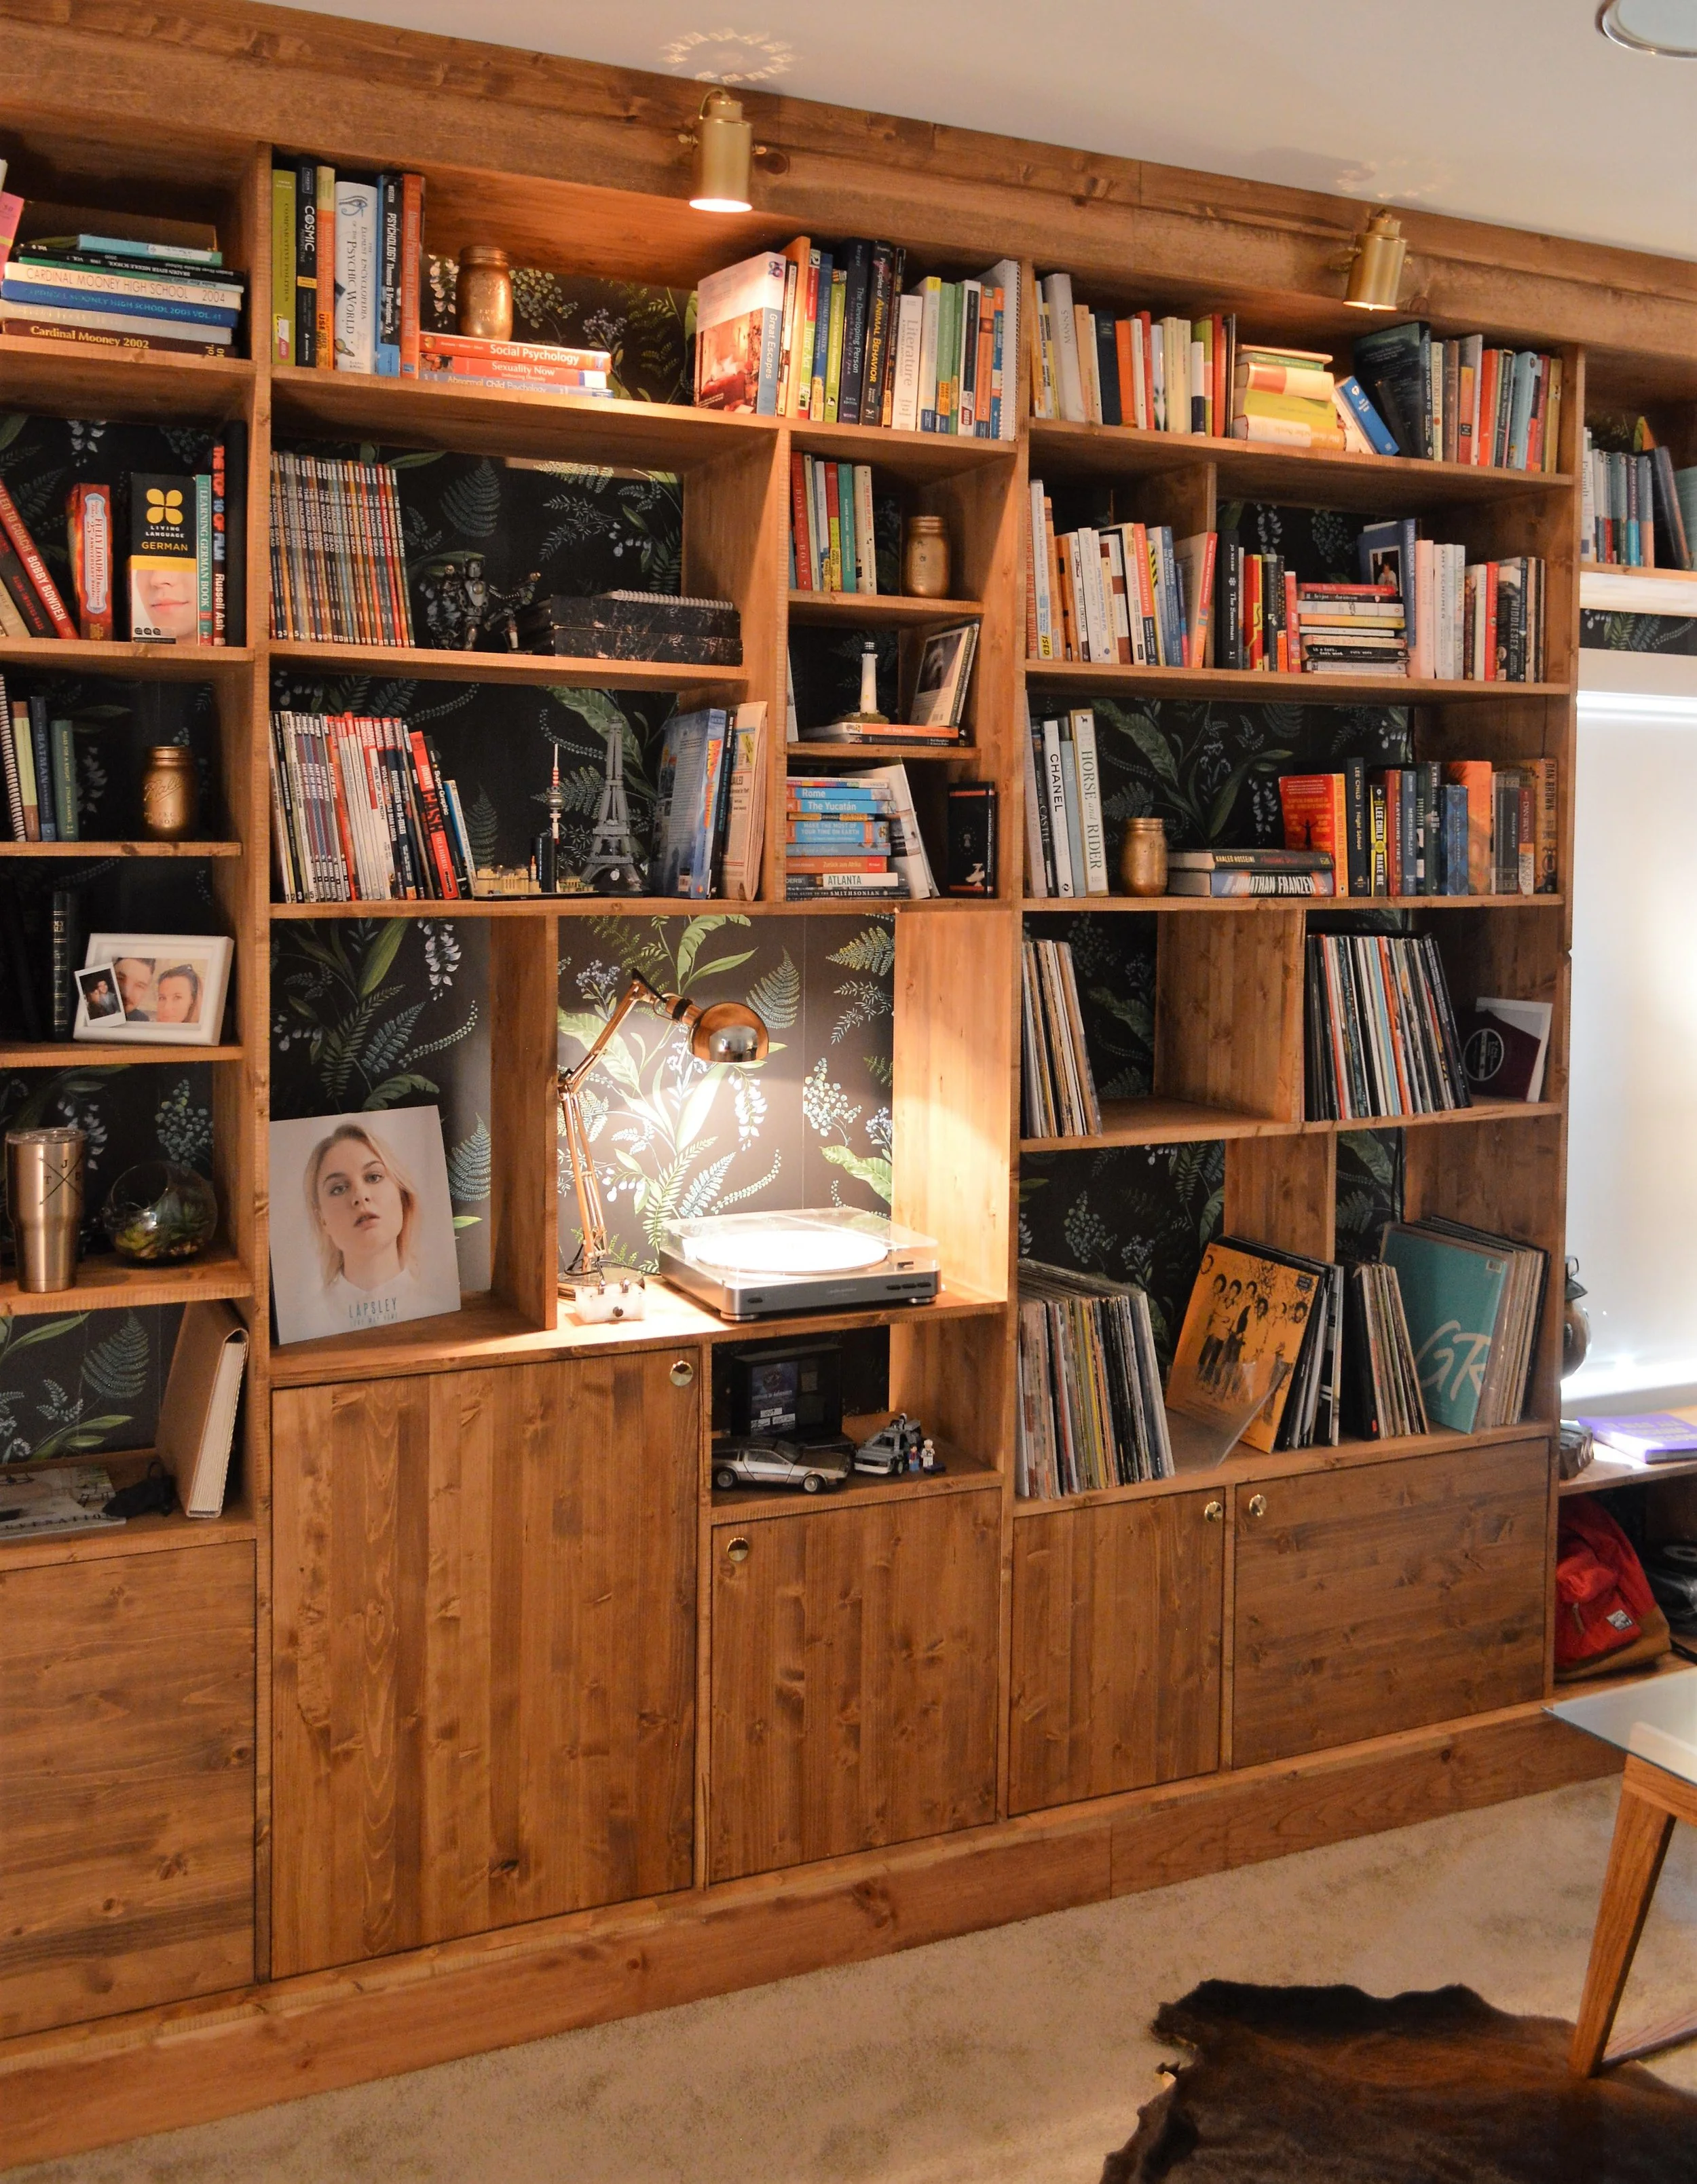

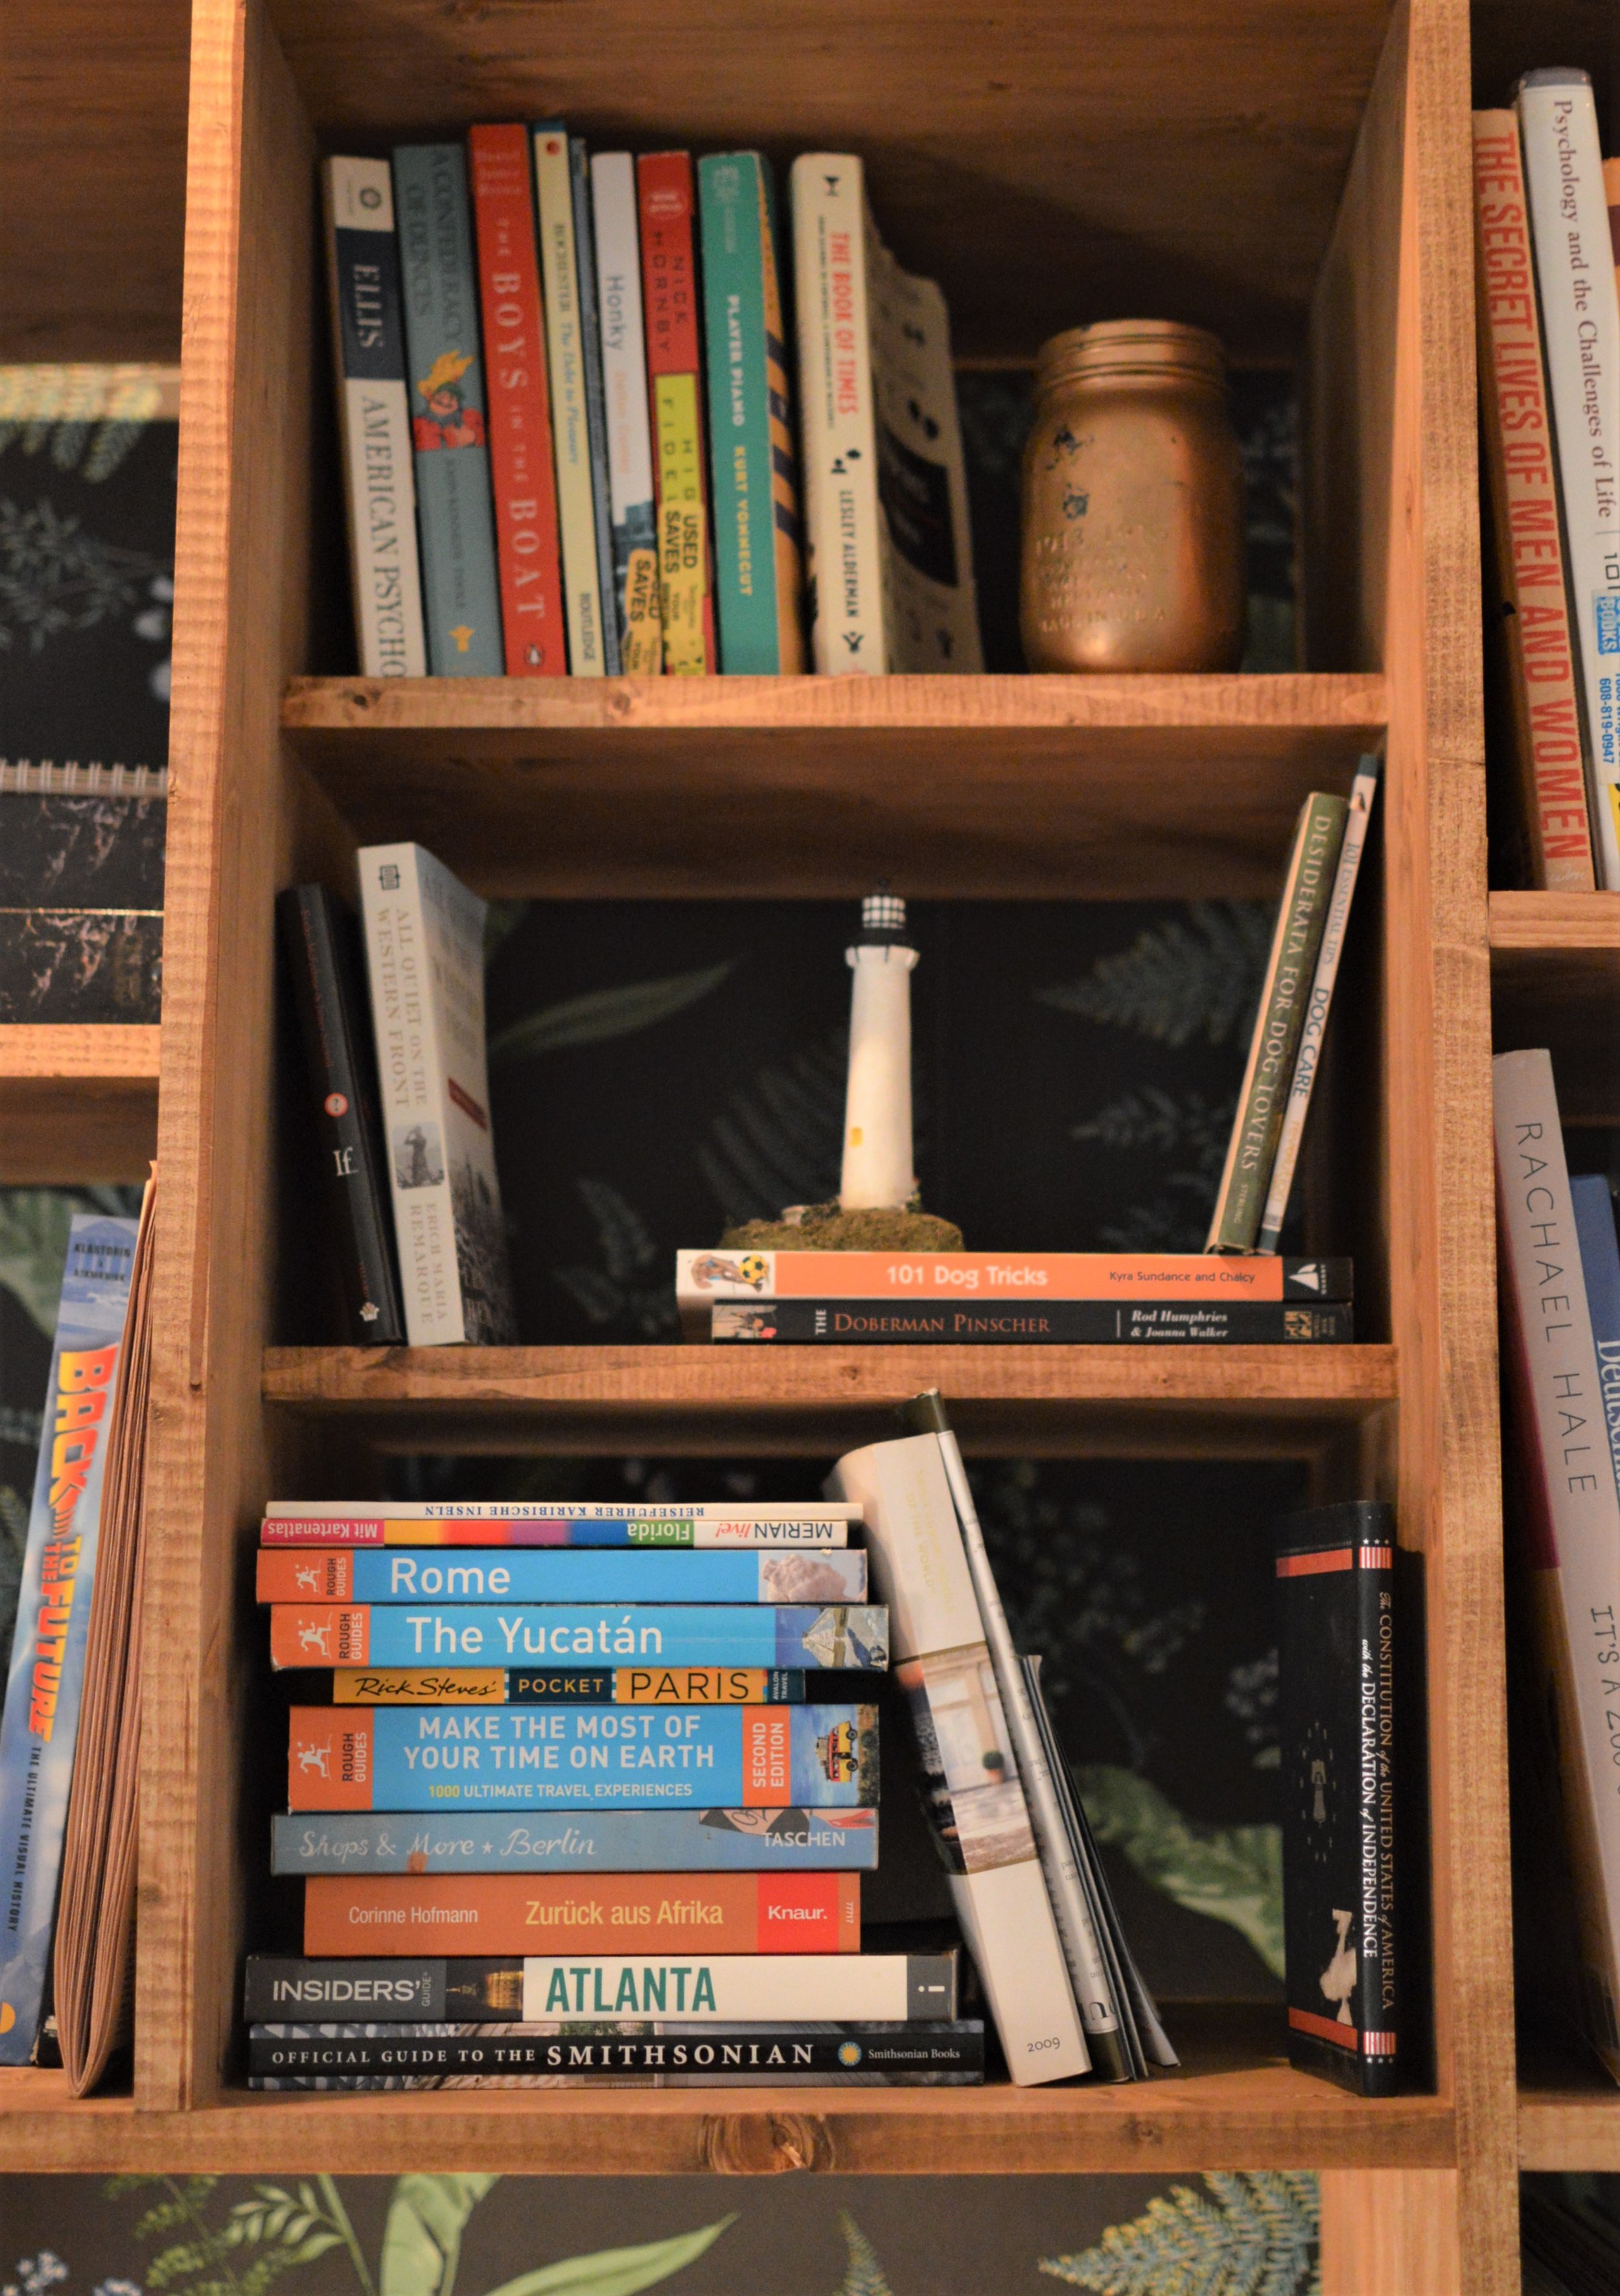
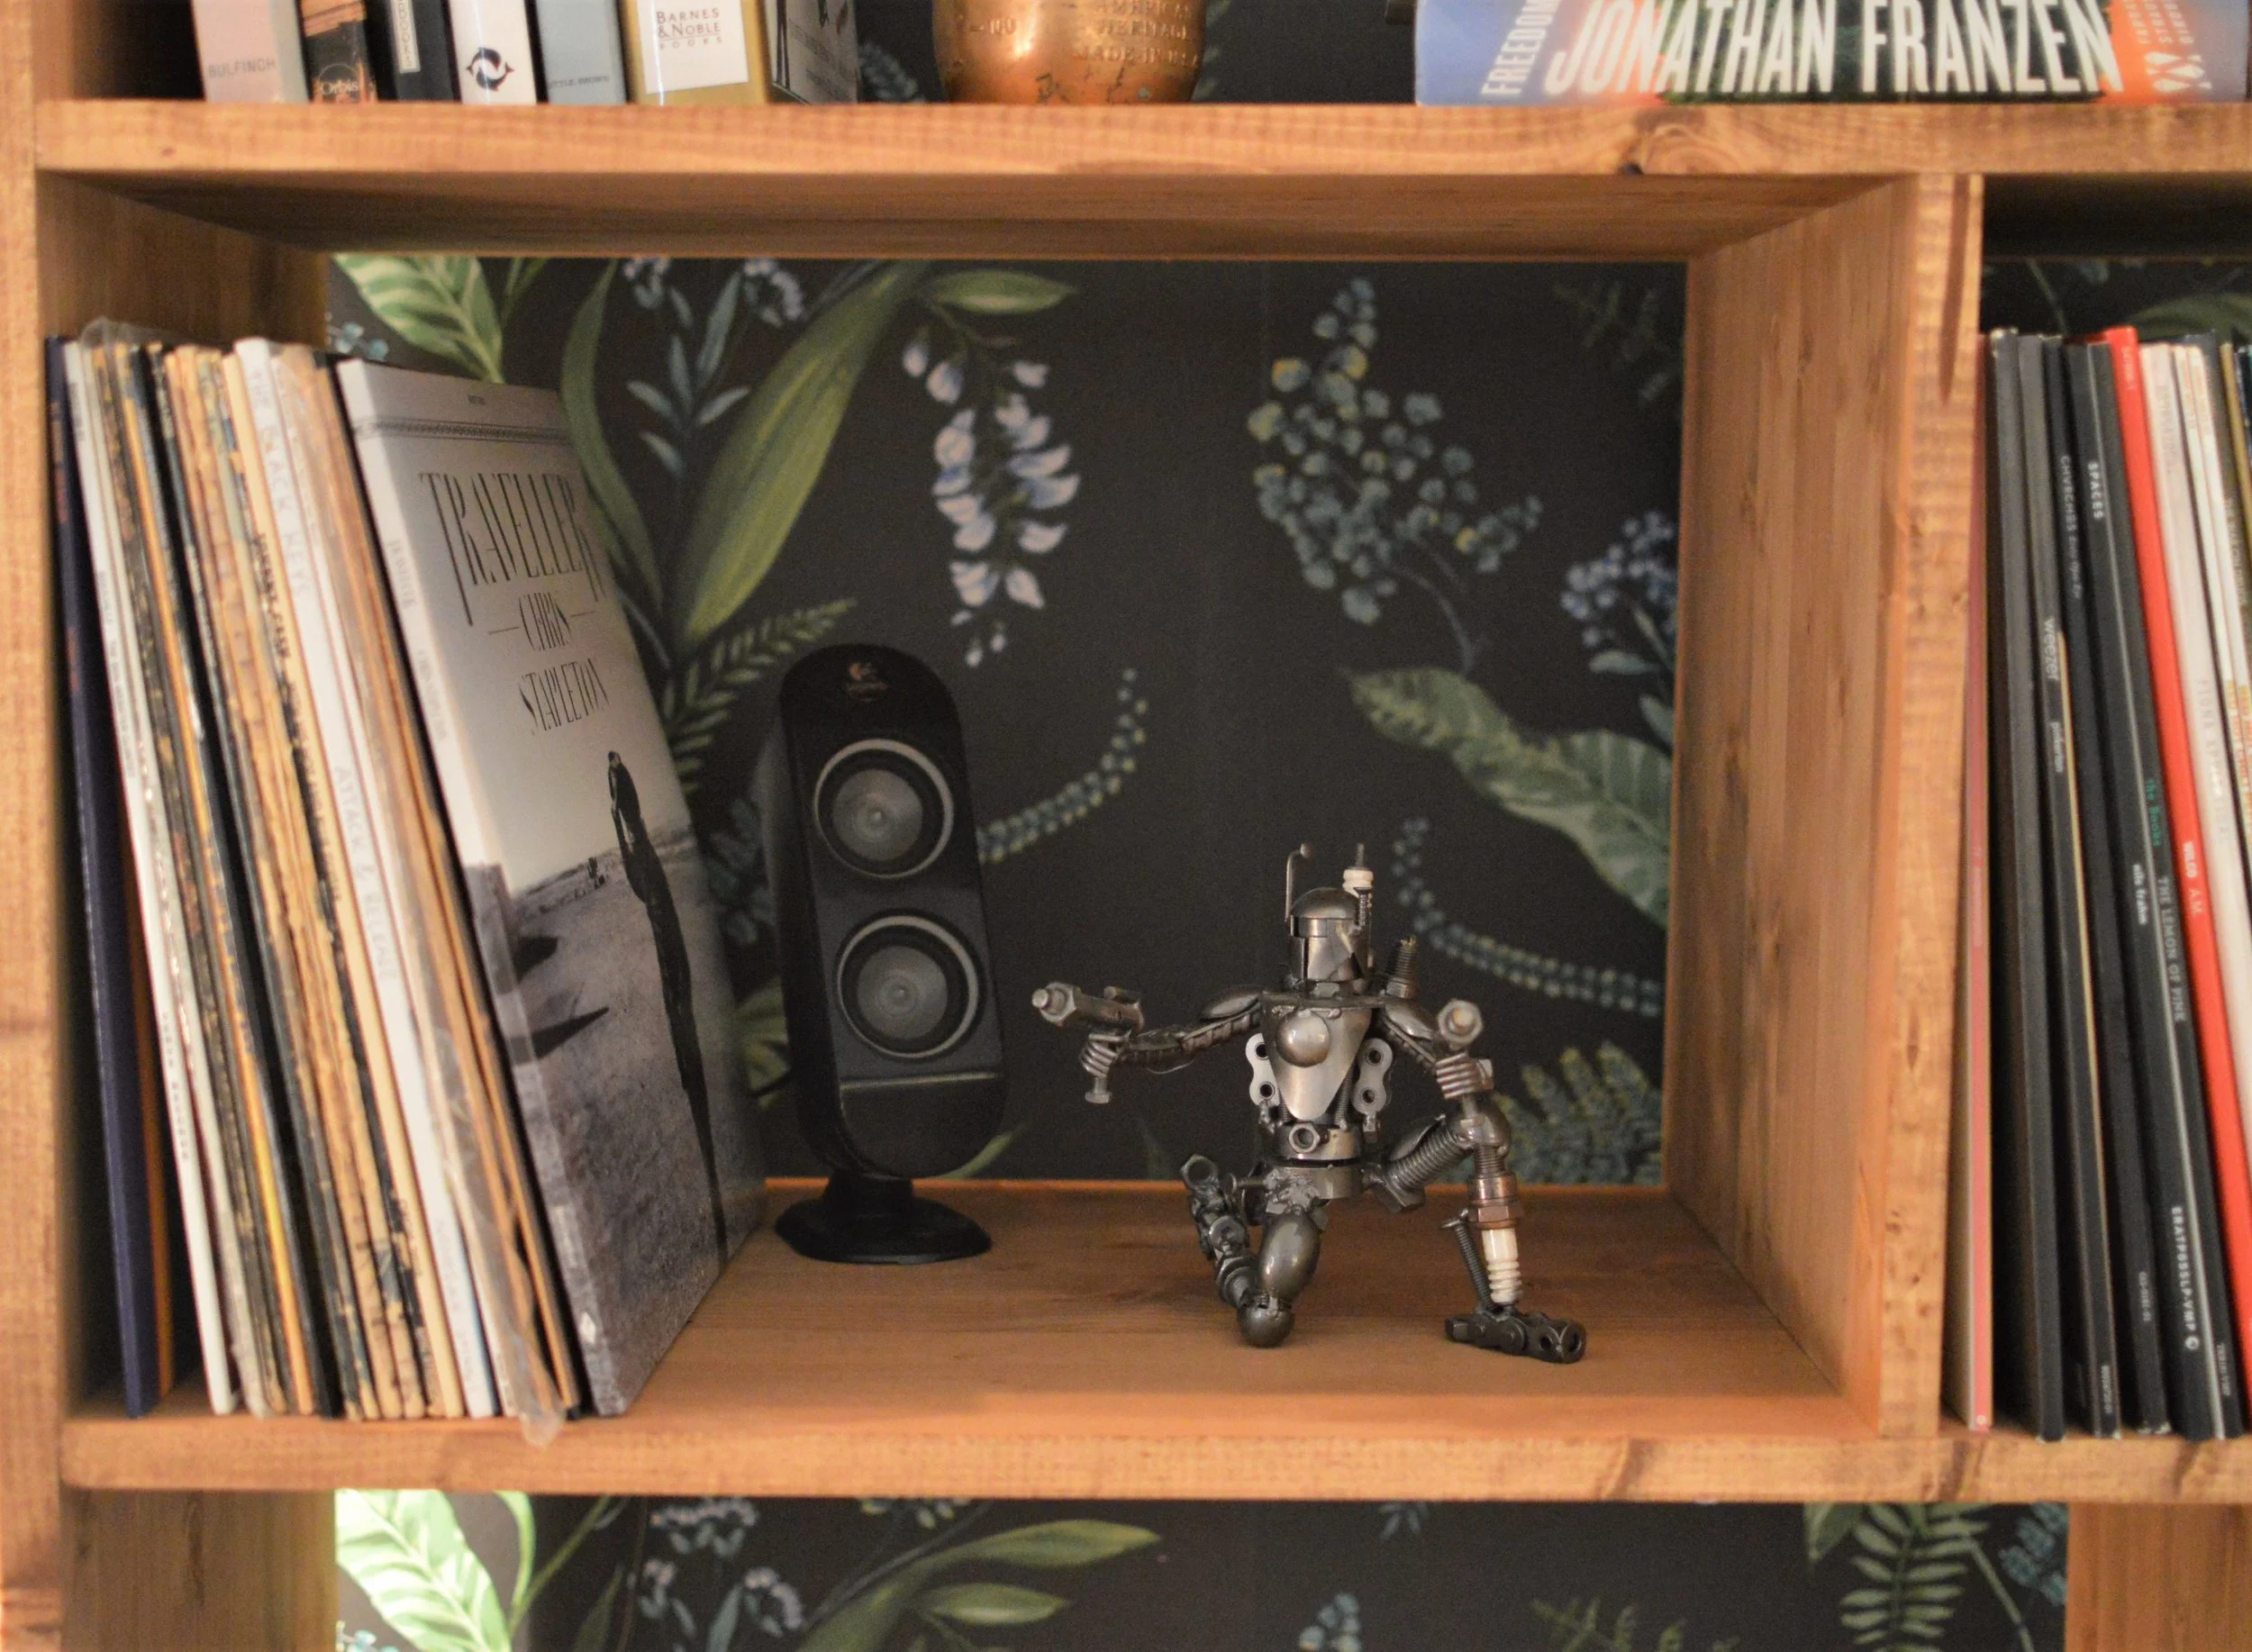

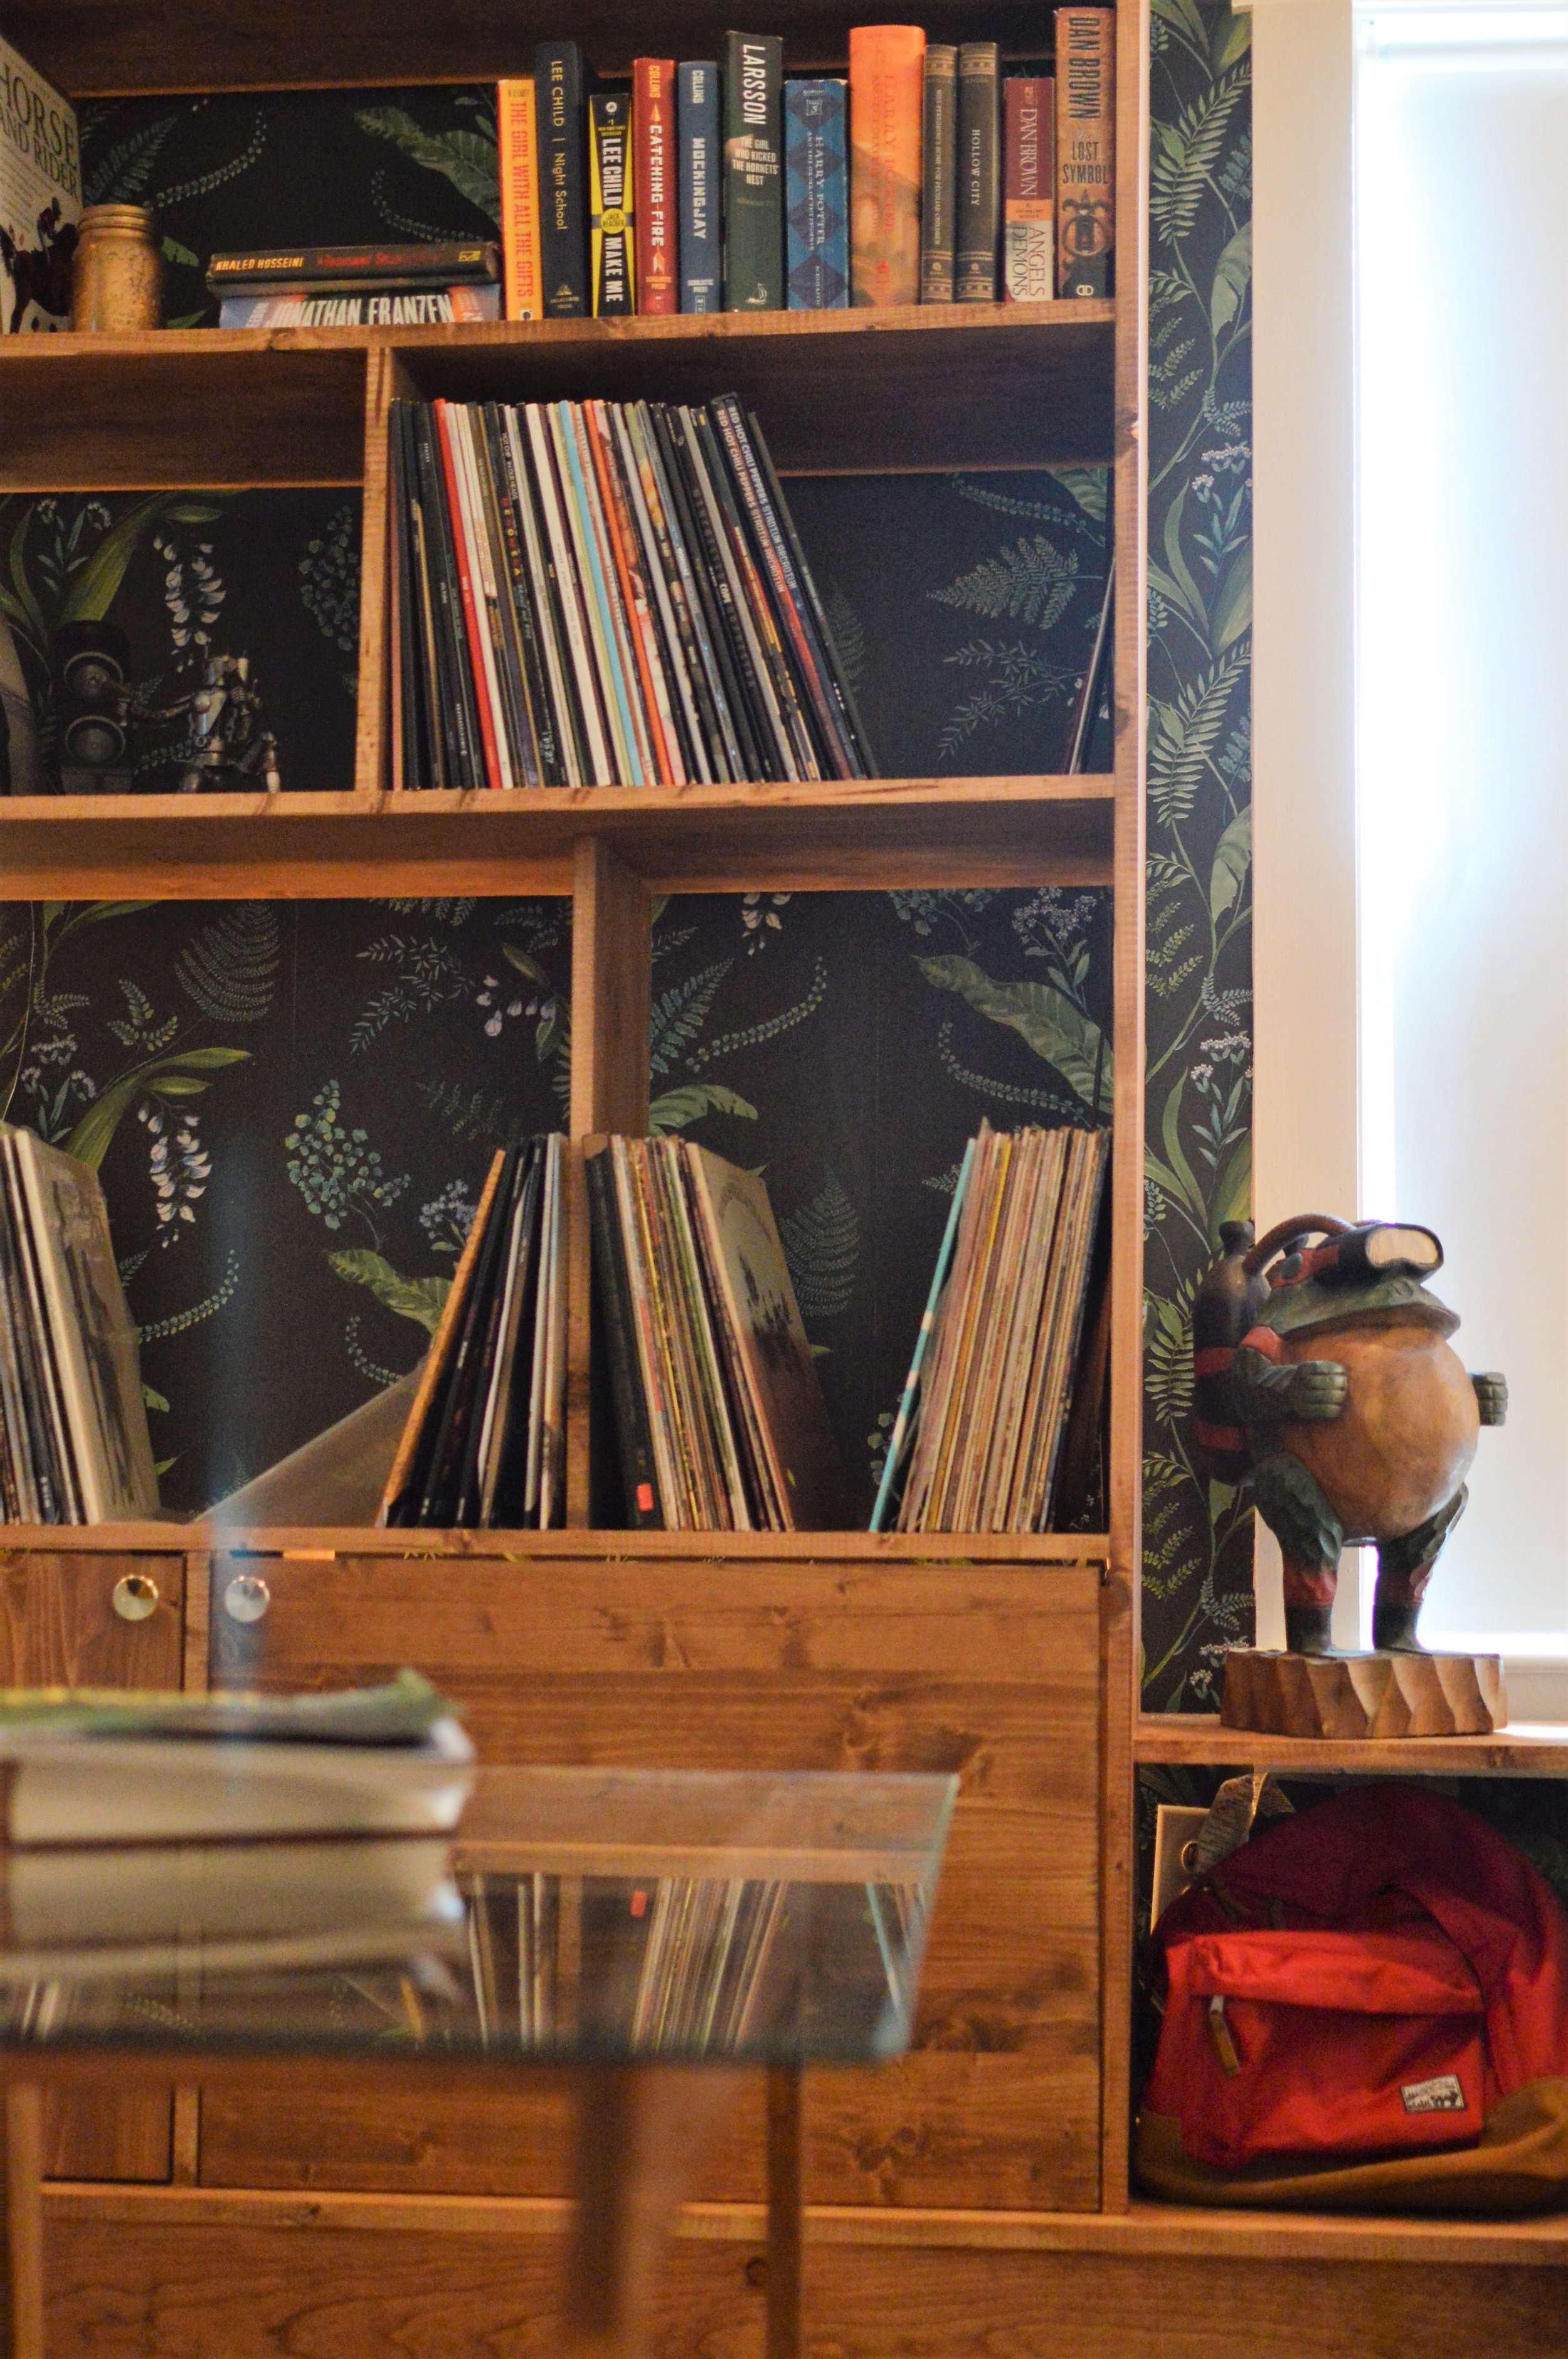

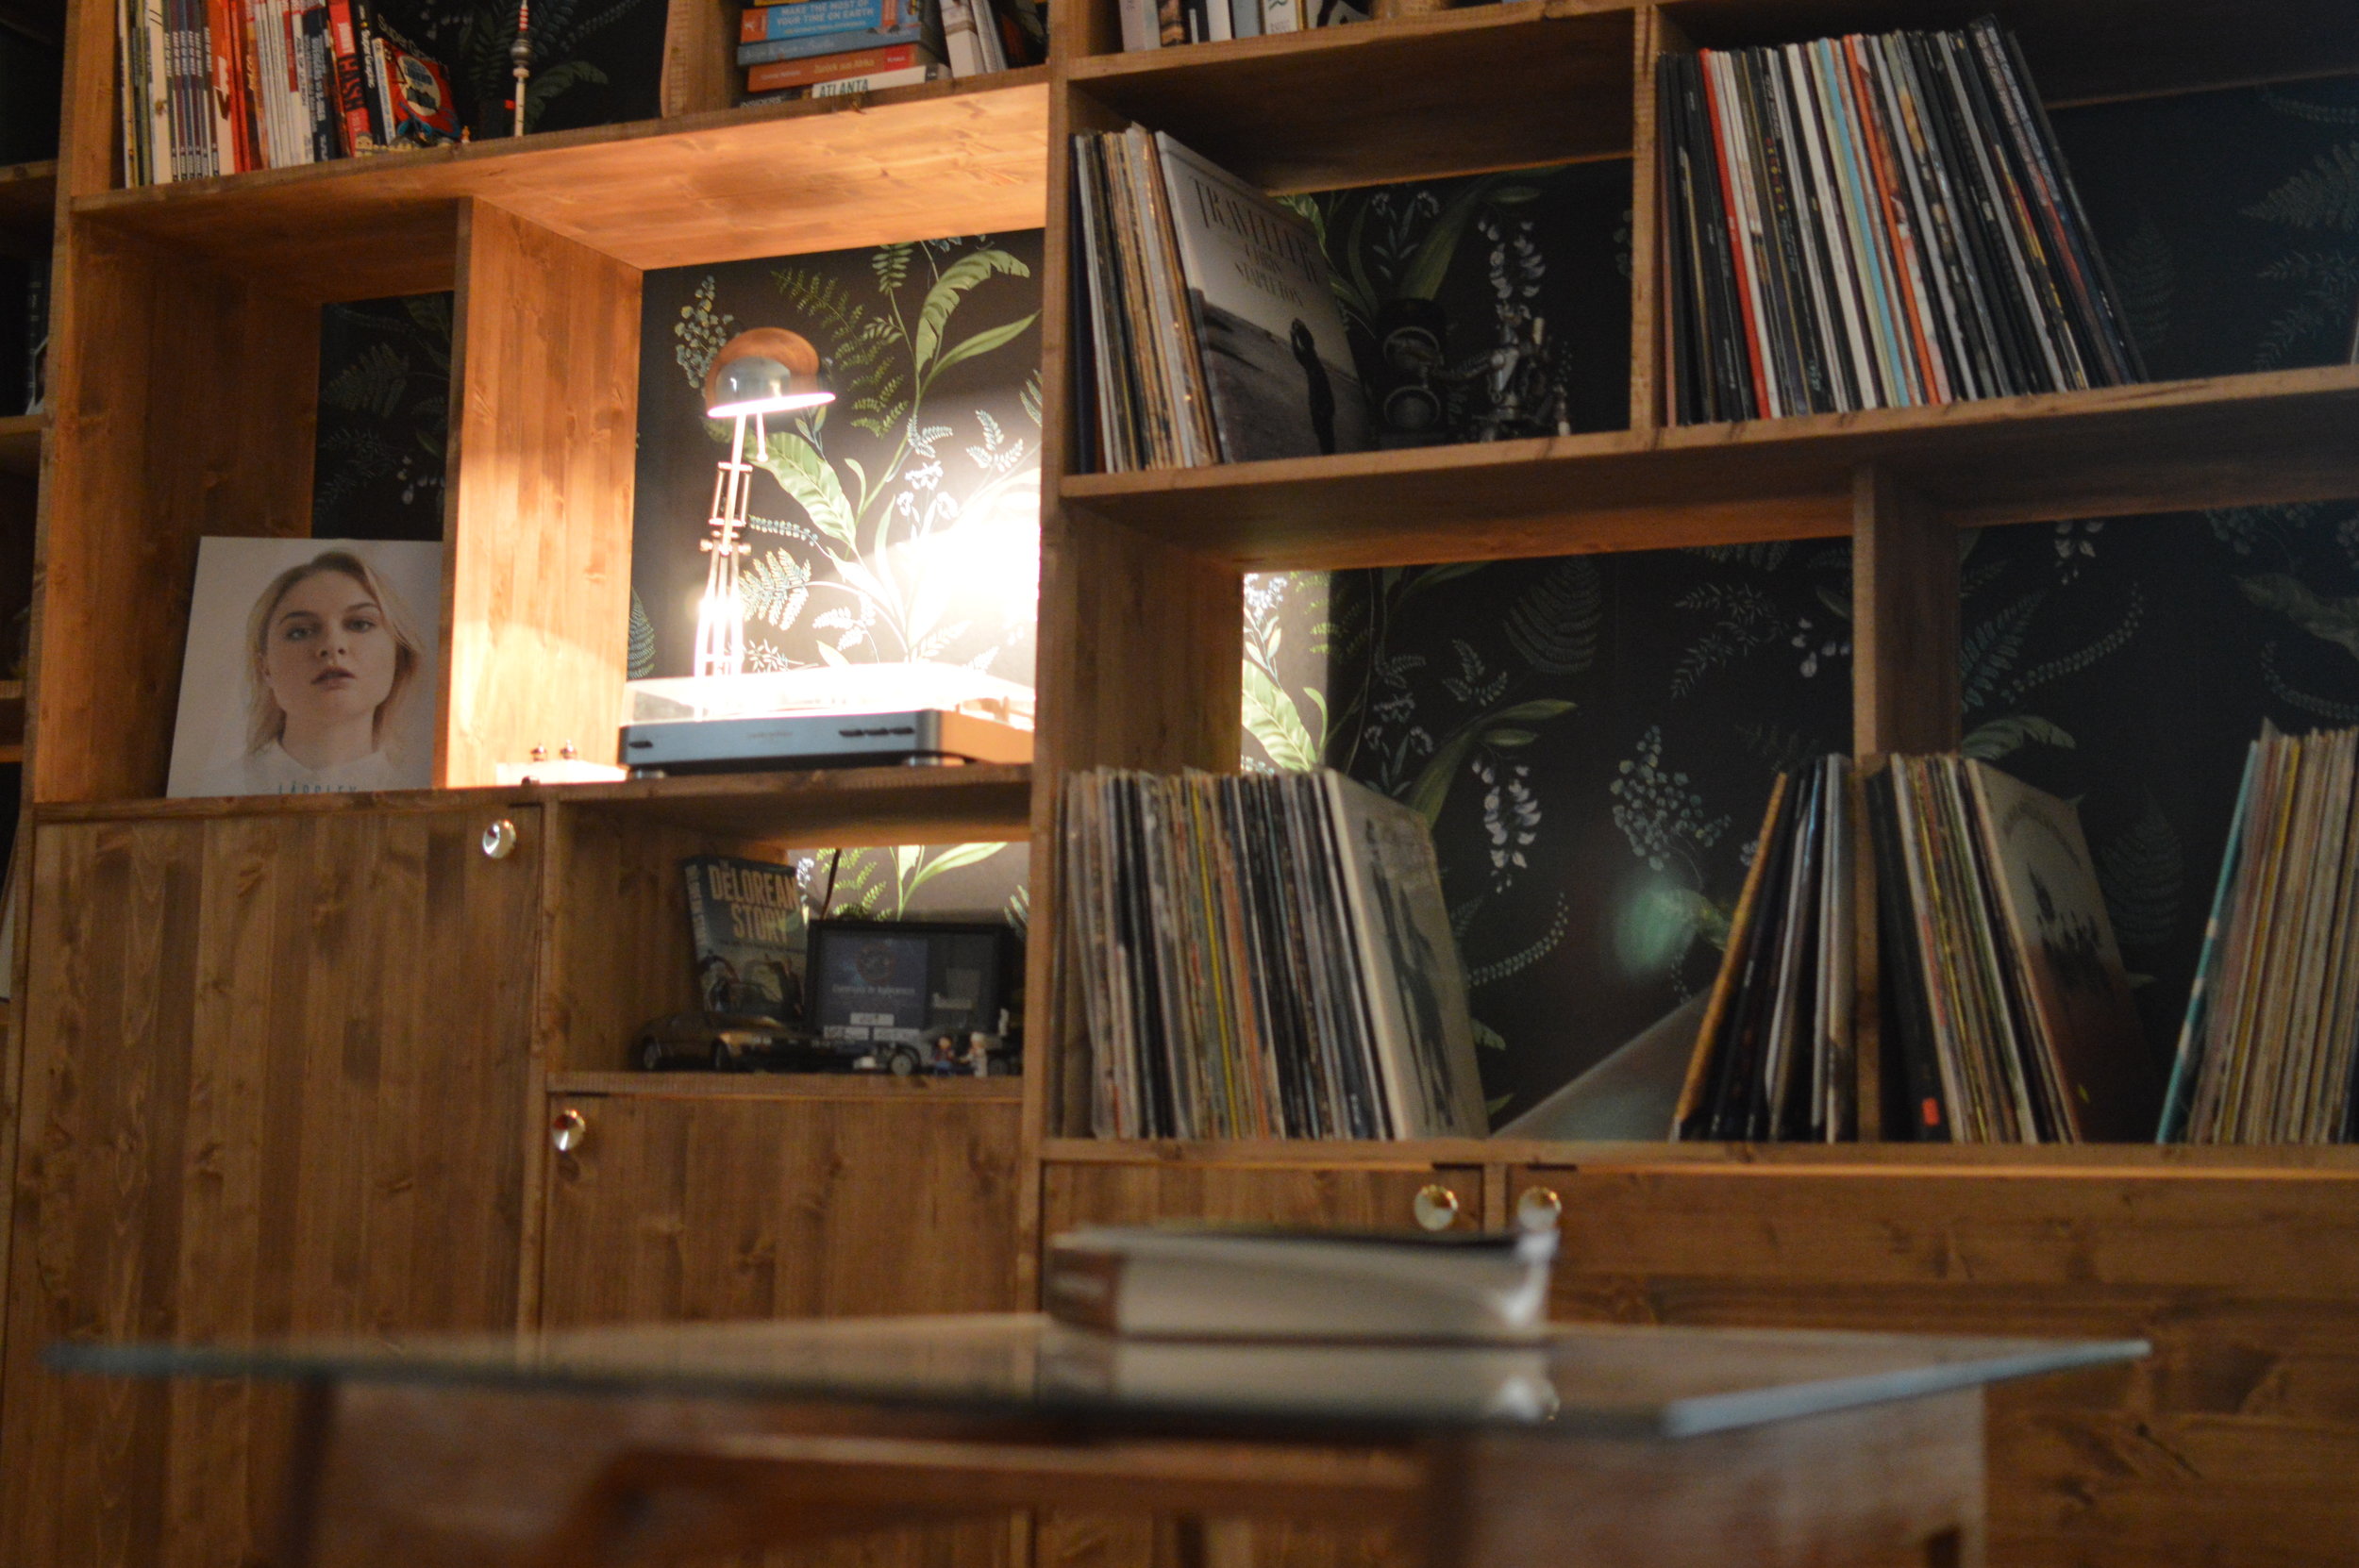
Once she was all loaded up she really took on a whole new look. The books and records added the different colors and varying sizes needed to truly populate the case and bring it to life. The wallpaper, although subtle, still accents the case beautifully.
For furniture, I went for a bright red wingback (thanks, Ikea) and a grey sleeper sofa (again, thanks Ikea) to keep the room usable for client presentations, moments of 'lounging,' and days and nights of 'friends and family sleeping over.' A wood and glass table I made increases usable task surfaces, as well as keep the room from feeling too crowded by big solid pieces of furniture.
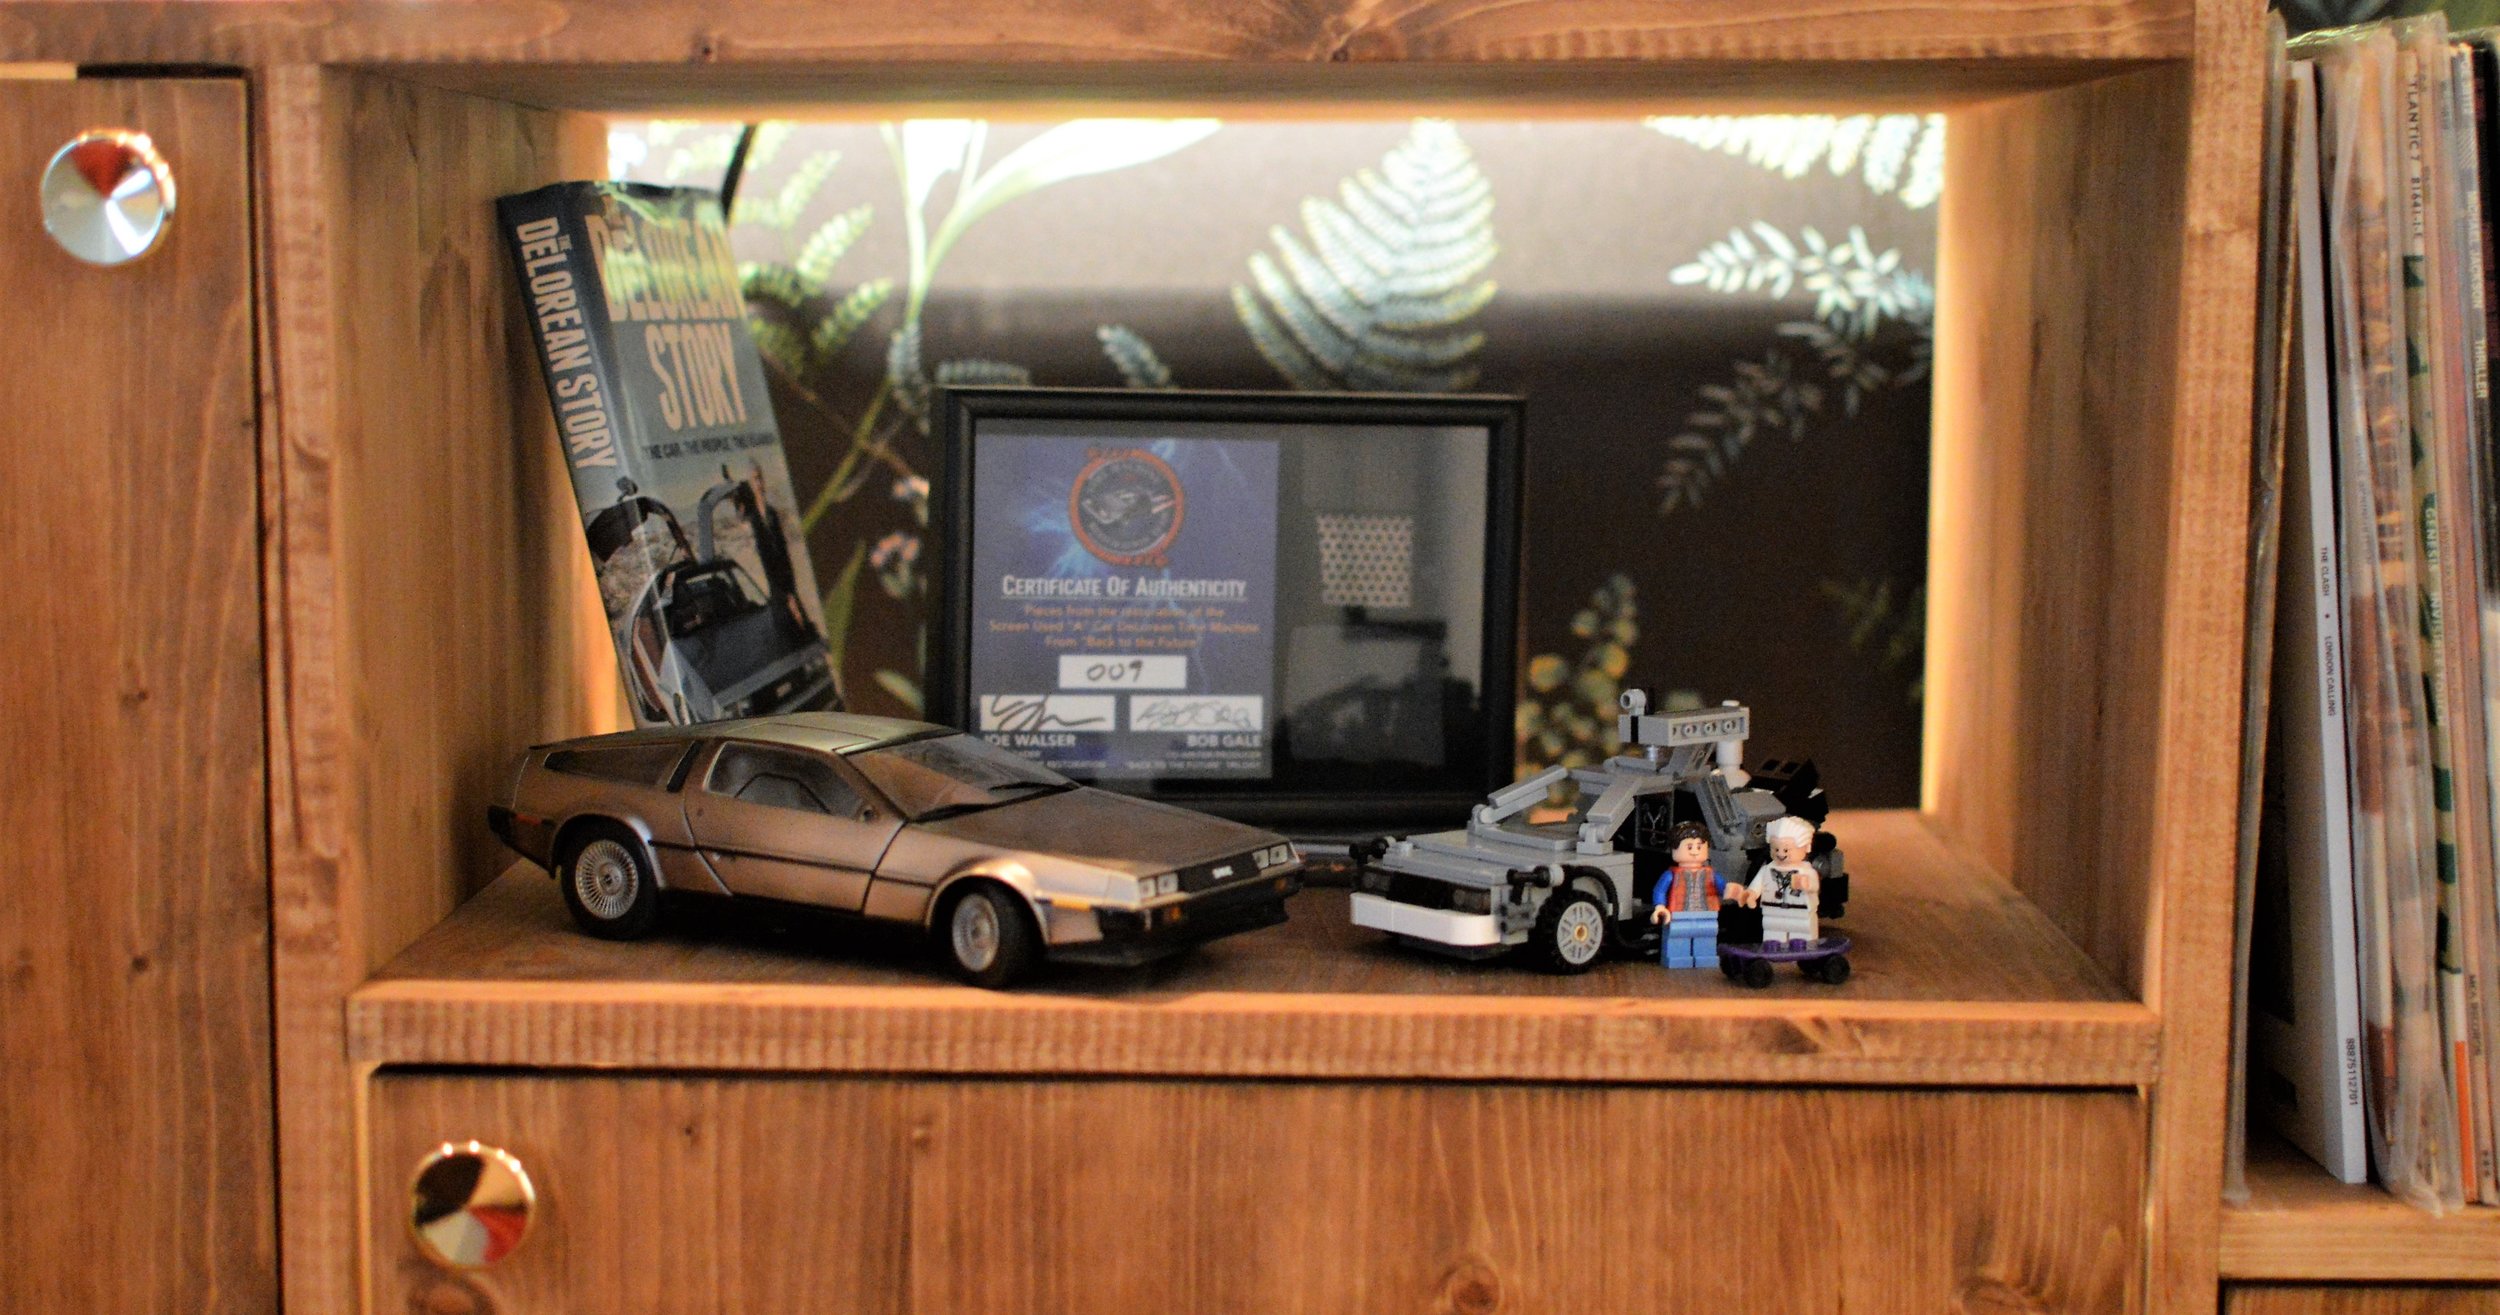
This space truly has become a wonderful room to live in. Both business and pleasure become far more enjoyable among the things you love. For me, it's some books, a lot of comics, vinyl records from Abbey Road to Zeppelin II, and plenty of wood. I hope you enjoy it as much as I do!